To connect multiple monitors to your audio interface, let’s keep things simple! Start by using balanced cables like TRS or XLR for clear sound. If you have a monitor controller, it’s your best friend for switching between monitors. Make sure your audio interface supports multiple outputs, and connect those to your monitors. Don’t forget to keep power and audio cables organized to avoid confusion! Stick around, and you’ll learn some pro tips for perfect setups! 🎛
Key Takeaways
- Use a monitor controller to manage multiple monitor sets efficiently and switch between them seamlessly.
- Connect studio monitors using balanced cables (XLR or TRS) to minimize noise and enhance sound quality.
- Ensure your audio interface has multiple outputs or routing capabilities for directing signals to different monitors.
- Utilize dedicated headphone outputs for personal monitoring while connecting monitors to avoid audio interference.
- Organize cables by separating power and audio lines to simplify troubleshooting and maintain sound integrity.
Understanding Audio Interface Outputs
You may be interested
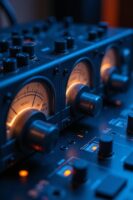

When it comes to audio interfaces, their outputs are the heartbeat of our sound setup! 🎶 They play an essential role in how we connect and route audio to our monitors and other gear. Understanding output types helps us make informed choices.
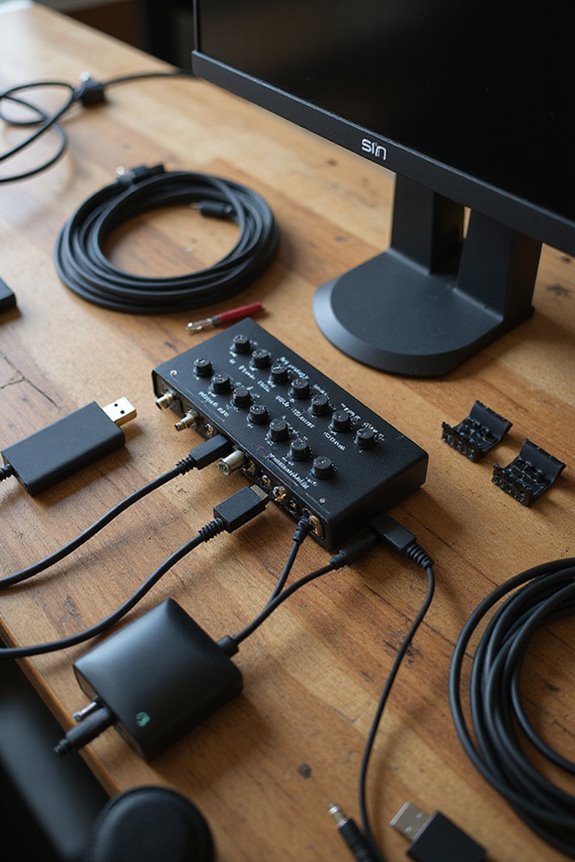
Most interfaces offer mono 1/4” jack outputs for direct monitor connections. We often see RCA outputs in entry-level models, which work for non-balanced setups. For the pros, balanced outputs like XLR or TRS jacks reduce noise. Plus, don’t forget about connections for external hardware—mixers or effects—bringing our audio to a whole new level! And yes, dedicated headphone outputs let us enjoy our mixes too! So, let’s get connected and elevate our sound! 🎧 Additionally, many high-quality interfaces provide high audio quality specifications to ensure optimal sound fidelity.
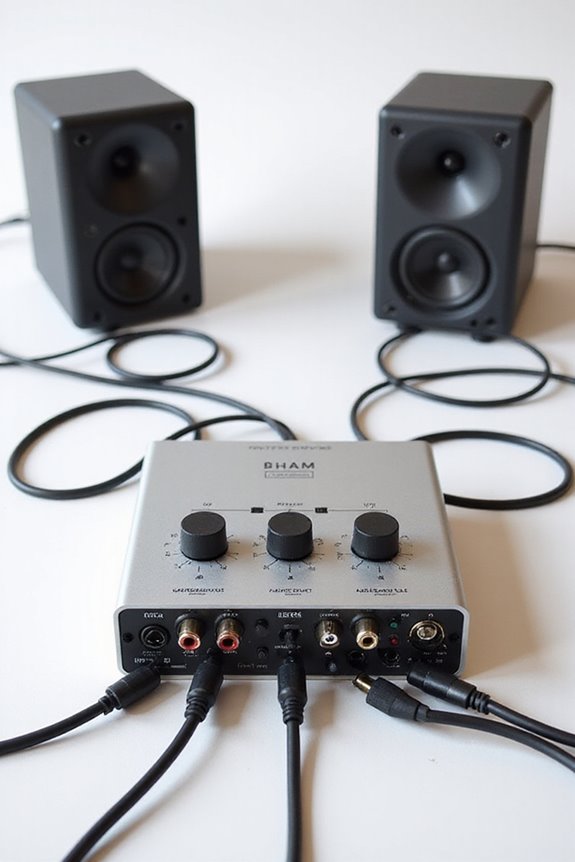
The Role of Monitor Controllers
Having a solid grasp of monitor controllers can really elevate your mixing game! 🎛 These handy devices act as the central hub in your studio, allowing us to control multiple monitor sets and headphone outputs with ease. With amazing monitor controller features like mute, dim, and phase inversion, we can make critical mixing decisions confidently. The convenience of switching between monitors helps us stay efficient, promoting seamless workflow. Plus, we can often enjoy benefits such as talkback functionality, letting us communicate effortlessly during sessions. And let’s not forget about their ability to enhance sound integrity with active or passive circuitry, ensuring our audio stays honest. Additionally, they provide high-quality audio output that is essential for clarity during mixing. So, for better control and accuracy, integrating a monitor controller is a smart choice!
Recommended Products

3 sets of stereo analog inputs and 2 sets of 192 kHz S/PDIF digital inputs

Latency-free analogue signal path
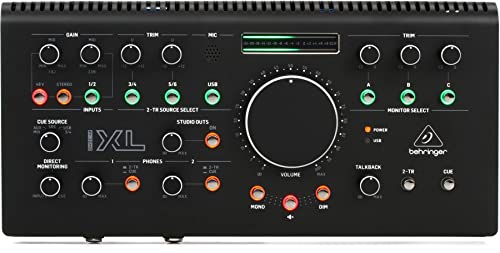
Studio Monit Contoller Communication Center with Midas Mic Preamps
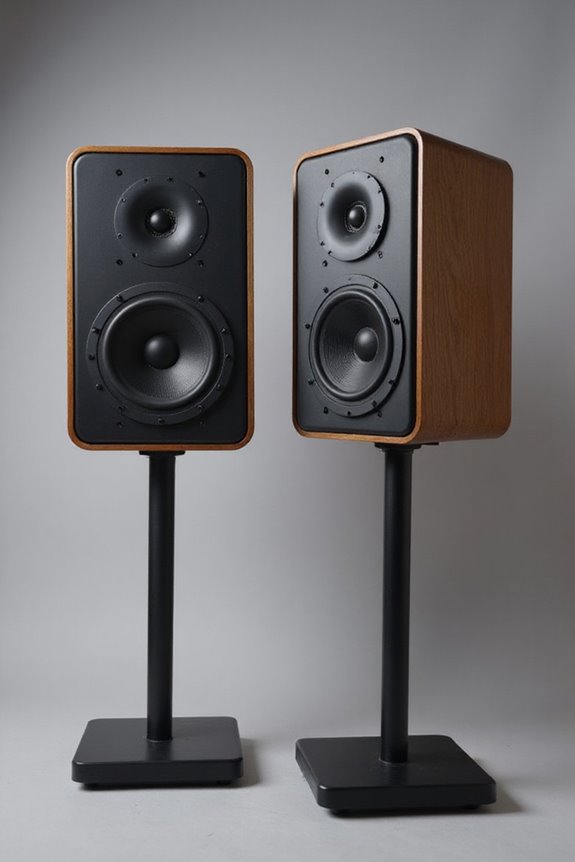
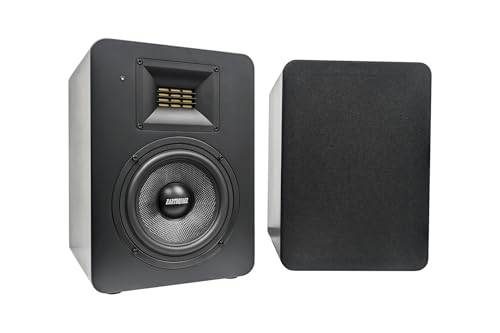
Connecting Monitors: Cables and Compatibility
Getting familiar with monitor controllers makes connecting your monitors a breeze! 🎶 Now that we’ve established how critical those controllers can be for our setup, we should focus on how to properly connect our monitors to the audio interface.
For the best sound, we recommend using XLR or TRS cable types, which provide balanced connections. These cables keep noise at bay and guarantee clarity, especially over long runs.
Most studio monitors work well with these balanced connections, so checking compatibility is key. Avoid unbalanced cables like TS unless your runs are super short. If your gear has combo jacks, you can simplify cable selection! Remember, quality matters—use reliable brands and appropriate lengths for peak performance. Additionally, consider the latency requirements of your setup to ensure a seamless experience. Let’s rock this setup!
Recommended Products

Bundle Includes: 2 x Adam Audio A7V Powered Two-Way Studio Monitor, 2 x FocusProAudio 25-Feet XLR Male to Female Microphone Cable, 2 x PX-TMXM2 1/4-Inch TRS to XLR Male to Male Balanced Cable (10-Feet), and Studio Monitor Isolation Pads for 8-Inch Speakers (Pair)

Bundle Includes: Adam Audio T10S 10-Inch Powered Studio Subwoofer, Adam Audio T7V 7-Inch Powered Studio Monitor (Pair), 2 x 25Ft XLR Cable Male to XLR Female Microphone Cable, and 2 x 1/4-Inch TRS to XLR Male to Male Balanced Cable (10-Feet)

Next-gen 28 x 32 USB3 audio interface — Builds on 22 years of proven success as an industry-leading audio interface brand.
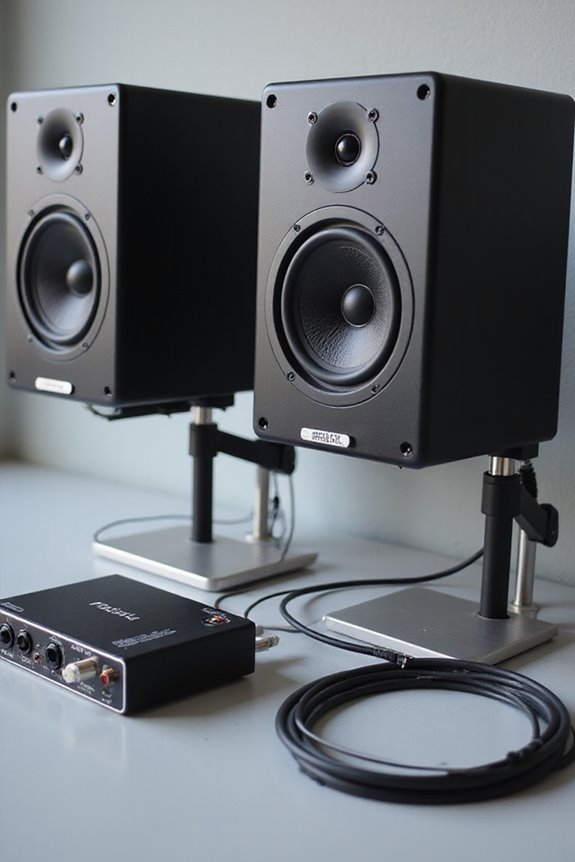
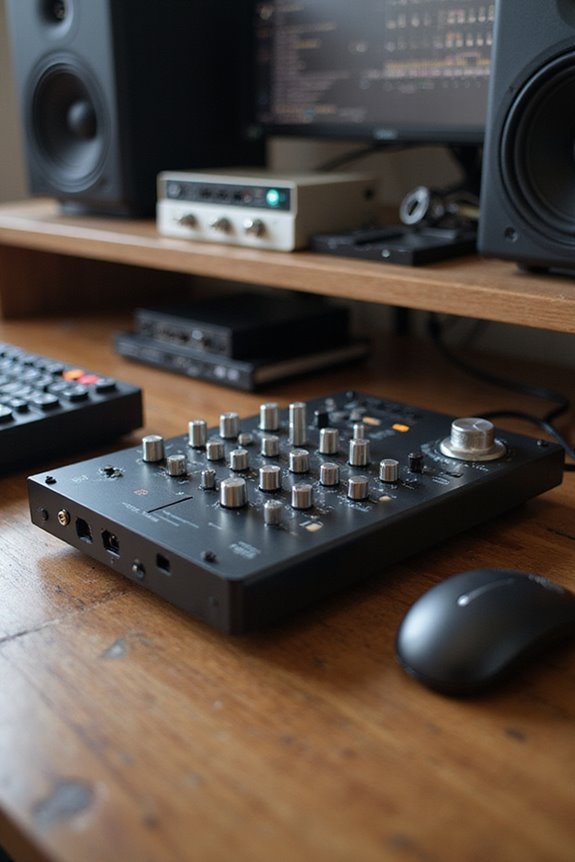
Signal Routing for Multiple Monitors
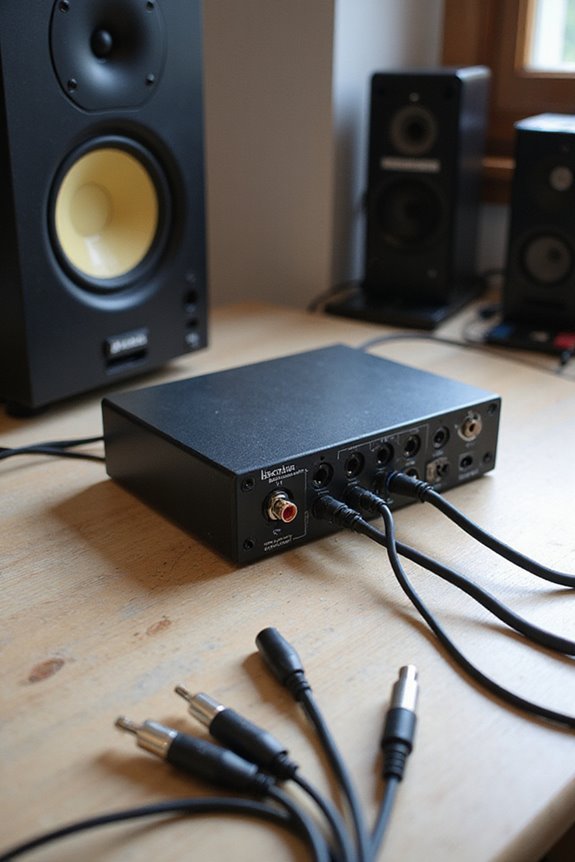
Setting up signal routing for multiple monitors might seem challenging, but it’s actually pretty straightforward—and can totally enhance your mixing experience! 🎛 With the right tools, we can efficiently control how sound flows from our audio interface to different speakers, ensuring each monitor gets the signal it needs.
We can harness multi-output configurations, directing different audio signals to various monitors. By using audio routing matrices in our software or hardware, we create custom setups that suit our needs. Dedicated monitor controllers offer handy toggling features too! If we have analog or digital mixers, they allow us to route audio signals flexibly, adding effects or leveling before reaching monitors. Additionally, using an interface with high-quality mic preamps ensures clear recordings and optimal sound quality.
With these techniques, our monitoring game will be on point!
Recommended Products

QD-MINI LED: TCL's QD-Mini LED combines the merits of QLED and OLED technologies, transforming the traditional backlight into lighting that is close to pixel-level precision.

Mini-LED Pro With Up to 3000 Local Dimming Zones And Up to 3000 nits Peak Brightness: See the realism of every shadow cast by the players and the ball. When your TV is backlit by thousands of tiny LEDs, your viewing experience gets even more precise. Think of the LEDs like thousands of pinpoints of light illuminating your screen. And Full Array Local Dimming creates deeper shadows and brighter highlights, while virtually eliminating halos.

QUANTUM MATRIX w/ MINI LEDs: Catch every detail in dark to bright scenes; Precise lighting from Mini LEDs boost brightness so you don't miss a thing
Power Management and Volume Control
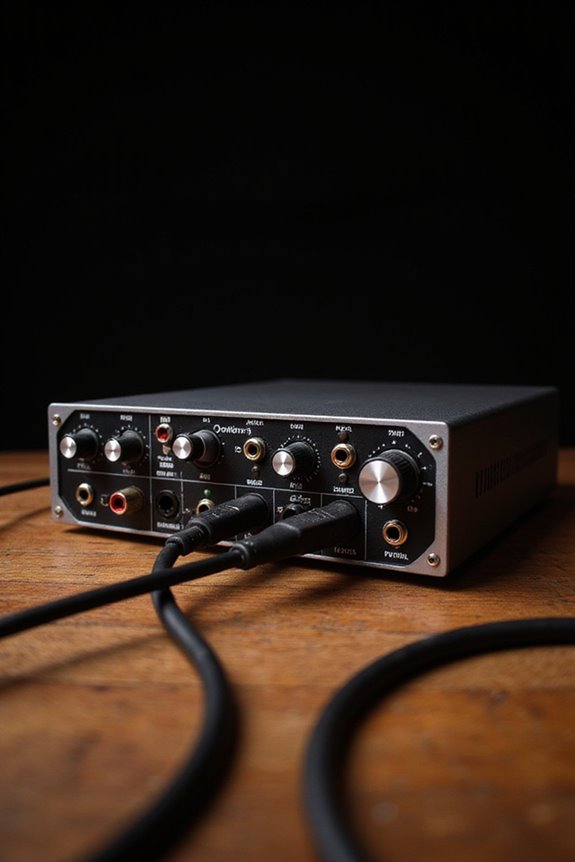
When we think about connecting multiple monitors, power management and volume control become key players in our setup. Managing power consumption is essential because each monitor can draw significant energy, especially active ones with built-in amplifiers. We suggest using monitor controllers for centralized control, minimizing signal interference and complexity. These controllers streamline volume adjustments, letting us tweak all monitors from a single knob! 🎚 To calibrate volume levels, try playing a 1 kHz test tone and measuring with an SPL meter. Don’t forget to support your system with power conditioners, which help minimize noise and extend our gear’s life. Additionally, understanding power output requirements is crucial for ensuring optimal performance across all connected monitors. By following these steps, we can create a balanced, low-noise environment – a win-win for our audio adventures!
Recommended Products

High-Efficiency Four Zone Climate Control: OLMO 36,000 BTU Multi-Zone System with three 9,000 BTU and one 18,000 BTU wall-mounted indoor units. 21 SEER2 energy rating delivers superior efficiency and lower utility costs compared to traditional HVAC systems.

Cooper & Hunter 28,000 BTU (2.3 Ton) Multi Zone Outdoor Condenser 25 SEER2, 230V, with (3) Wall Mounted Indoor Units 12,000 + 12,000 + 12,000 BTU. Smart Kits included to control the system from your smartphone.

OLMO 36,000 BTU 230V Multi-Zone System with two 9,000 BTU and one 18,000 BTU wall-mounted indoor units. 22 SEER2 energy rating delivers superior efficiency and lower utility costs compared to traditional HVAC systems.
Practical Tips for Setup and Usage
Connecting multiple monitors can elevate your audio production game, and we’re here to make it easy! First, let’s avoid some common mistakes. Always use balanced cables like TRS or XLR to reduce noise. When connecting your audio interface to monitors, make certain you follow proper gender connector matches—it’s essential!
Got a subwoofer? Connect it through a monitor controller for hassle-free adjustments. Organize your cables, keeping power and audio separate, which makes troubleshooting easier. We can label them too; it speeds up setup changes!
Finally, when calibrating volume levels across monitors, play a test tone and an SPL meter can help. Additionally, consider using an audio interface with ADAT I/O for expanded input/output channels. With these tips, we’re ready to take our audio game to another level! Happy mixing!
Recommended Products

INCLUDED - RODECaster Pro II, power adapter, USB-C cable, user manual, warranty, 2x TAP300 mics, 2x HA arms, 2x headphones, XLR TRS cables for a complete studio setup.
Professional bi-amplified Class AB design with 130W of distributed power for studio-level cohesive, accurate sound with an ultra-wide 35Hz-40kHz frequency range covering the full musical spectrum

Bundle Includes: Adam Audio T10S 10-Inch Powered Studio Subwoofer, 2 x Adam Audio T5V Active Nearfield Monitor, 2 x FocusProAudio 25-Feet XLR Cable Male to XLR Female Microphone Cable, and 2 x 1/4-Inch TRS to XLR Male to Male Balanced Cable (10-Feet)
Ensuring Optimal Monitoring Environment
After getting our monitors connected, the next step is ensuring we’ve got the best monitoring environment possible! 🎶 To achieve ideal room symmetry, we should symmetrical place our speakers. Position them close to the front wall for a low-frequency boost, but keep them away from reflective surfaces. We’ll want to adjust our listening position too—avoid sitting right in the center; instead, settle between the side walls for balanced sound.
Now, let’s talk acoustic treatment! Adding soft materials like foam around first reflection points can reduce unwanted echoes. And don’t forget bass traps in the corners to control low-frequency resonances! By fine-tuning our speaker placement and setting up the right acoustic treatments, we’ll create a space that truly sings! 🎤
Frequently Asked Questions
Can I Use Passive Monitors With an Audio Interface Directly?
No, we can’t connect passive monitors directly to an audio interface due to compatibility issues. Let’s make certain we adjust our audio interface settings and use an external amp to get the best sound from our monitors.
What’S the Difference Between TRS and XLR Cables?
When we compare TRS and XLR cables, we notice that both can deliver excellent audio quality. However, their lengths and design affect performance; XLR typically excels in longer runs, reducing interference considerably.
Do I Need a Subwoofer When Using Multiple Monitors?
When we’re considering if we need a subwoofer with multiple monitors, we should think about subwoofer placement and monitor calibration. It can enhance our overall sound experience, especially during deep bass-heavy mixing.
How Can I Reduce Latency When Using Multiple Monitors?
Did you know that reducing latency can enhance performance by up to 30%? We should explore latency reduction techniques and monitor setup optimization to guarantee our audio experience remains smooth and enjoyable during complex projects.
Are There Any Specific Considerations for Multi-Room Setups?
When setting up our multi-room acoustics, we should consider monitor placement carefully. Each room might have unique characteristics that affect sound, so let’s guarantee we optimize our setup for the best audio experience together.