To reduce studio monitor noise effectively, we can start with acoustic treatment! Installing absorption panels and bass traps in corners can prevent pesky reflections and boost low-end control. Next, we should guarantee our monitors are tweeter-aligned and at least a foot from walls. Let’s use balanced cables to tackle electrical noise too. Finally, don’t underestimate DIY solutions like using heavy curtains or even bookshelves to trap sound! Stick with us, and you’ll uncover even more useful tips! 🎶
Key Takeaways
- Position studio monitors at ear level and ensure they’re away from walls to minimize bass build-up and enhance clarity.
- Use balanced XLR cables to reduce electrical noise and consider high-quality interfaces for superior audio fidelity.
- Implement acoustic treatment with absorption panels at reflection points to improve sound isolation and clarity in your studio.
- Identify and eliminate ground loop issues by ensuring devices are plugged into the same outlet or using devices like the iFi iDefender+.
- Maintain organized cable management, separating power and audio cables to reduce electromagnetic interference and enhance the studio environment.
Acoustic Treatment for Noise Reduction
You may be interested

When we want to reduce studio monitor noise, acoustic treatment is key! 🎶 By thoughtfully treating our space, we can create a sound environment that truly enhances our listening experience.
Absorption Panels: These help with sound isolation by targeting mid and high frequencies. Placing them at first reflection points guarantees clarity!
Bass Traps: Let’s not forget low frequencies! Installing them in corners will stabilize room modes, preventing that boomy sound.
Diffusers: To keep things lively, diffusers help scatter unwanted reflections, maintaining a natural vibe.
Remember to take into account your room dimensions when selecting panel sizes—typically 2×4 feet works well. By getting these elements right, we’ll transform our space into a sonic haven! 🎧 Additionally, consider incorporating high-quality woofers and tweeters to further enhance your studio monitor’s performance.
Recommended Products

SPECS - Length: 96" | Width: 80" | Material: Cotton and Polyester with Zig-Zag Stitching | Weight: 12 lbs each | Blanket and Thread Color: Black | Use: Sound Absorption, NOT Sound Blocking or Sound Proofing | NRC Rating: 0.35 | Quantity: (60) Sound Blankets

Tested Performance: Up to 26 dB sound reduction; NRC 0.89 absorption; KCL third party test data available; built for sound isolation and acoustic control

WALL-MOUNTED PARTITION: This Wall-Mountable version of the Room Divider 360 Partition is perfect to create space for numerous functions. It forms workplace areas in offices, or any situation that would require consistent use of the Room Divider 360. Wall Mount Included.
Elimination of Electrical and Ground Loop Noise
Eliminating electrical and ground loop noise can feel like finding a needle in a haystack, but it’s essential for achieving crystal-clear sound in our studio. Ground loops often manifest as that annoying hum or buzz you hear in monitors, which can drive anyone nuts! We can diagnose issues by unplugging devices or testing outlets. Using quality electrical shielding, like aluminum foil, helps identify if RF interference is the issue.
For effective solutions, we recommend USB devices like the iFi iDefender+ to break those pesky ground loops. Remember, avoiding multiple devices on different circuits really helps prevent ground loop problems. And using balanced XLR cables? That’s a smart move! Interfaces like Antelope Audio Discrete 4 Synergy Core offer advanced conversion technologies that enhance audio fidelity, ensuring a cleaner sound. Let’s tackle that noise together!
Recommended Products

2-channel Passive Stereo +4dB to -10dB Isolat Converter with Ground Lift Variable Output Level Control

1️⃣ Signal isolation: The most important function of an audio isolator is to isolate audio signals from each other. This is usually accomplished through the use of transformers.

Reliably eliminates hum loops and interference signals
Calibration and Positioning of Studio Monitors
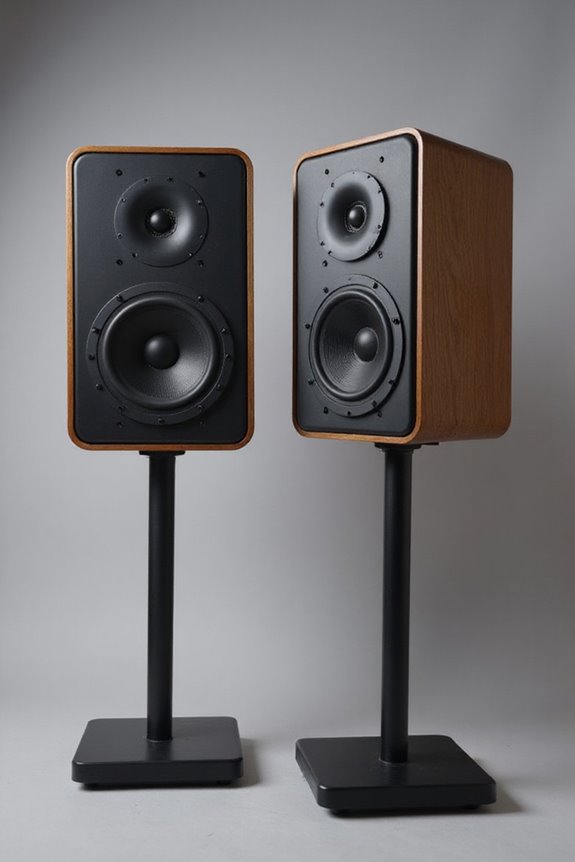
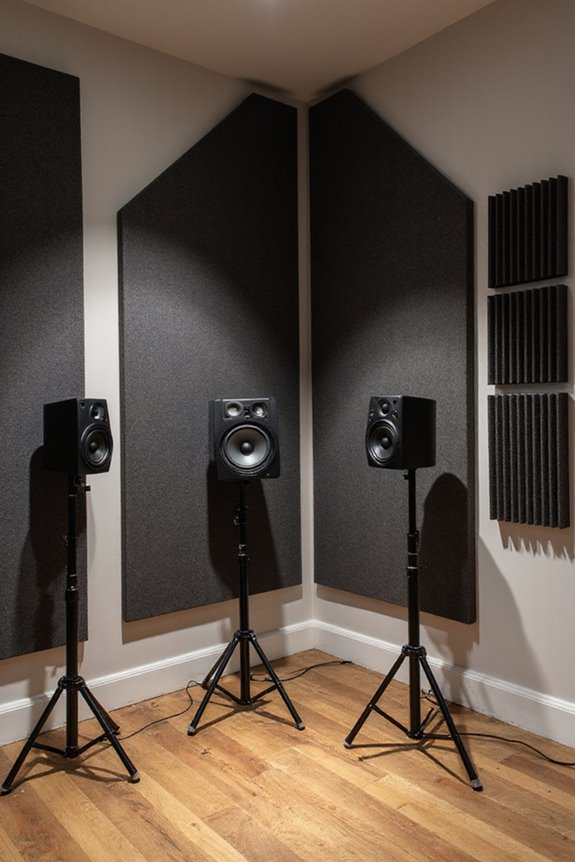
Getting the most out of our studio monitors can be a game-changer for our sound quality! To start, we should align our monitors so that the tweeters are at ear level. This helps us catch those crisp high frequencies without any distortion. Maintaining symmetrical monitor positioning creates balanced stereo imaging—no one wants to feel like they’re sitting to one side of a lopsided seesaw!
Let’s also keep them a foot or two away from walls to avoid bass build-up. And don’t forget about toe-in adjustments; slight angling towards our ears improves clarity and stereo focus. If our monitors are aligned just right, we’ll truly hear our mixes like never before! 🎶
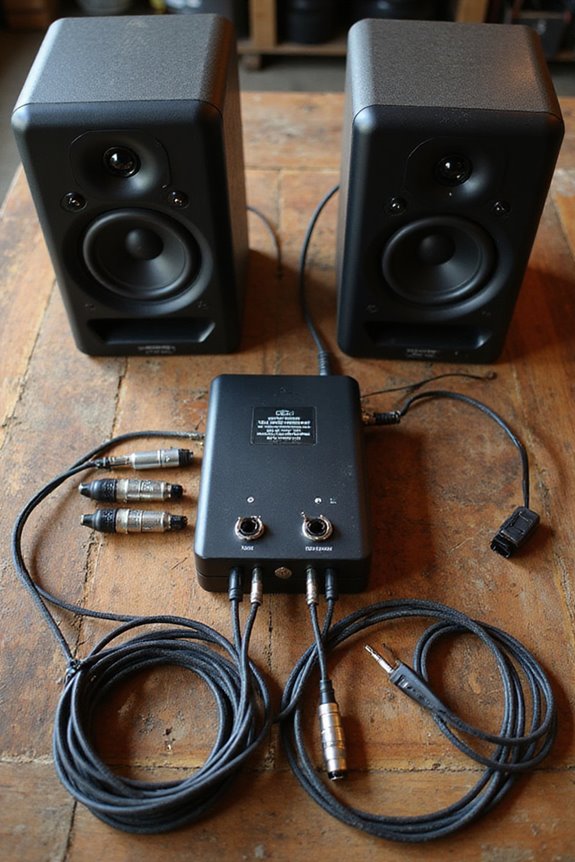
Recommended Products

Pro-Grade Heavy-Duty Design: Pair of two sturdy tripod speaker stand built for professional use.

Perfect Partnership: Exclusively designed in collaboration with Sony to fit the BRAVIA Theater Quad speakers perfectly.
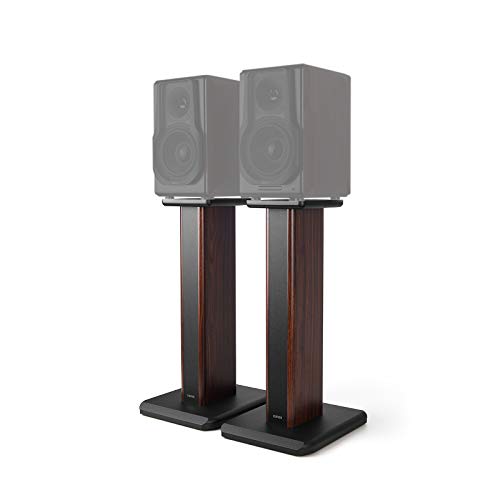
MDF STRUCTURE STABILITY & HOLLOWED DESIGN - Ready to fill with sand to increase stability and eliminate resonance.
Use of Absorbers, Tiles, and Blankets to Control Reflections
Now that we’ve set up our studio monitors for peak performance, it’s time to tackle another important aspect: controlling reflections in our space! By using acoustic blankets, we can absorb unwanted sound reflections and improve our listening environment. Let’s utilize the “mirror” method to spot early reflection points—just place a mirror on the walls or ceiling and see where the sound bounces back!
We should focus on placing acoustic foam panels and thicker absorbers like mineral wool at these points. Adding bass traps in corners helps tame low frequencies too! Don’t forget about balance; we want our room to sound lively, not dead. A combination of absorbers and diffusive tiles will keep the vibes just right in our creative space! 🎶 Using studio monitor isolation pads can also significantly enhance your sound quality by reducing vibrations from speakers.
Recommended Products

SPRAY FOAM INSULATION (3840 Sq.Ft. - 192 Pack x 27.1 oz.) HIGH R-VALUE THERMAL & SOUNDPROOF : BONDURE spray foam insulation delivers strong thermal insulation and soundproofing to reduce drafts and improve comfort. Thanks for the closed-cell feature also optimal R-Value and at most thickness, ideal for walls, ceilings, attics, roofs, rim joists, and hard-to-reach gaps.

Modern Wood Wall Panel Design: These wood panels for wall feature a clean 3D slat structure that enhances interior walls with depth and texture, delivering a refined, professional look for residential and commercial spaces.

Acoustic Room Treatment Kit with Eight Control Columns
Electrical Setup and Cable Management
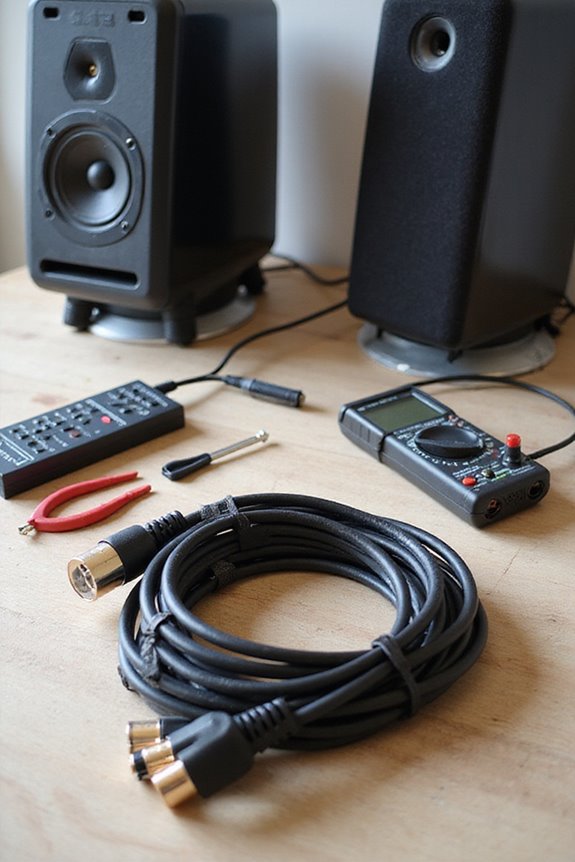
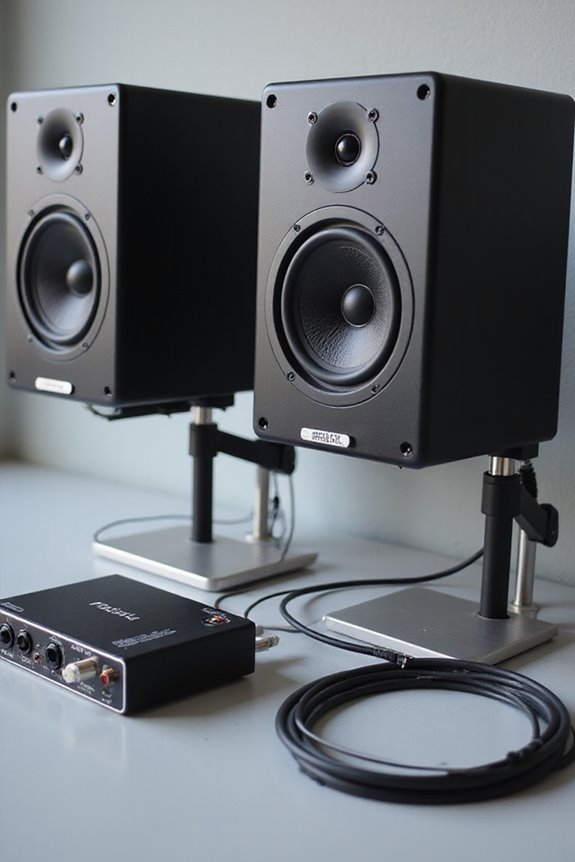
When we investigate our studio’s electrical setup, it’s essential to keep things running smoothly, so we avoid that unwanted buzz and hum that can ruin our listening experience! First, let’s talk about cable routing. Keeping our power cables separate from audio cables reduces electromagnetic interference. Trust us; tangled cables are the enemy!
Next, proper power distribution is vital. Use grounded outlets and avoid cheap power strips that can introduce noise. Consider investing in power conditioners with surge protection, like the Furman SMP+—it’s like a bodyguard for our gear! Additionally, using equipment with high-resolution audio standards can help ensure superior sound quality and minimize potential noise issues. And let’s not forget to regularly check cable integrity; frayed or oxidized cables can really mess with our sound. A little organization goes a long way in creating a noise-free studio!
Recommended Products


Surge Protection: With 15A surge protection, this power conditioner protects your equipment from power surges and spikes.

☺Subverting the traditional F30A HiFi-specific Filter Distributor (FLYINSKY original design). A good set of power processing will make your system produce "quality" flyby!
Additional Noise Reduction Practices
For monitor positioning, we should face them toward longer walls and elevate them to ear level. This guarantees we capture ideal sound without interference. 🌟 Finally, let’s invest in power conditioning and use isolation pads under our monitors to minimize vibrations. These soundproofing techniques and noise masking tips will clearly elevate our studio experience, creating a collaborative environment we all love! 🎶 Additionally, consider using studio-quality sound audio interfaces for enhanced clarity and depth in your recordings.
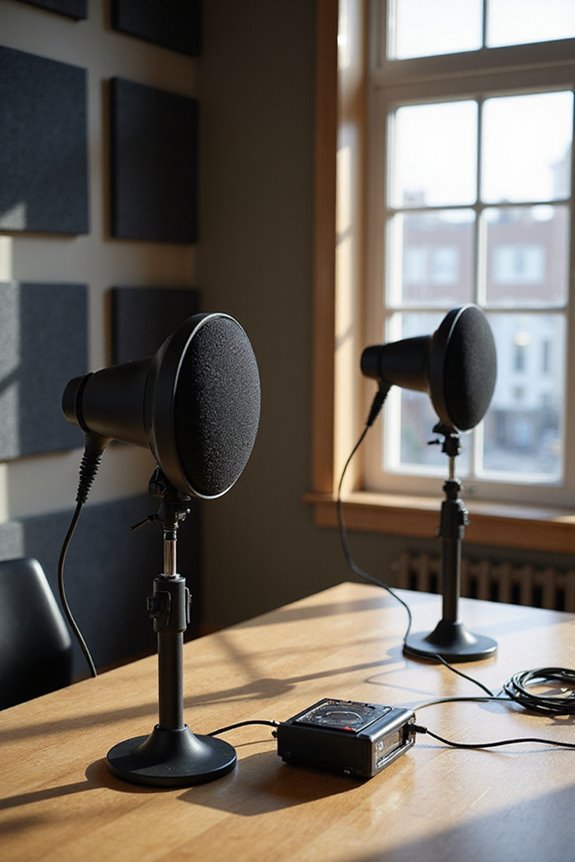
Utilizing Reflection Filters for Better Recordings
Utilizing reflection filters can be a game-changer for our recordings, especially when we’re dealing with tricky room acoustics. 🎤 By strategically placing these filters around our microphones, we greatly reduce unwanted sound reflections that can muddy up our audio quality. The reflection filter effectiveness shines through with hypercardioid and figure-8 mics, which pick up rear sound more than cardioid mics do. These filters not only absorb early reflections but also help create a quieter space around our microphones, boosting clarity!
While some may see them as a “comfort blanket,” using good microphone isolation techniques and correct positioning can maximize their benefits. Additionally, incorporating low-latency monitoring can further enhance the clarity and timing of our recordings. Let’s embrace reflection filters and make our recordings sound professional!
Implementing Diffusers for Sound Balance
Implementing diffusers can greatly elevate our studio’s sound quality, transforming how we perceive audio. 🌟 Instead of letting sound waves bounce chaotically off our walls, which can lead to muddled recordings, we can strategically scatter those waves.
Diffuser Types
We often utilize skyline, QRDs, and one-dimensional diffusers for targeted sound scattering.
Acoustic Benefits
These diffusers enhance clarity by reducing flutter echo and maintaining a lively ambiance.
Placement Strategies
Let’s consider placing them at first reflection points or on rear walls for optimum results.
Material Considerations
Wood and high-density foam are popular for their acoustic performance and appearance.
DIY Solutions for Cost-Effective Acoustic Improvements
When we’re looking to enhance our studio’s acoustics without breaking the bank, DIY solutions can be a game changer! 🤩 Not only do these cost-effective improvements help manage unwanted noise, but they also allow us to flex our creative muscles.
Building DIY Acoustic Panels****
Let’s construct DIY acoustic panels using wooden frames filled with high-density mineral wool, at least 4 inches thick, and covered with breathable fabric.
Crafting Bass Traps****
For low-end control, we can create bass traps in corners, using dense materials like rockwool. Placing them strategically targets those pesky low frequencies!
Repurposing Items
Don’t forget to use heavy curtains or even stacked bookshelves for extra absorption—sometimes, the best solutions are already in our homes!
Frequently Asked Questions
What Role Does Speaker Isolation Play in Noise Reduction?
Speaker isolation plays an essential role in noise reduction. By using speaker pads and isolation stands, we can decouple vibrations, enhancing clarity and accuracy in our mixes. Together, we can create a more precise audio experience.
How Can Furniture Arrangement Affect Studio Monitor Noise?
Imagine rearranging our cozy studio’s furniture, moving a sofa closer to the monitors. By optimizing furniture placement, we can reduce sound reflection, enhancing our listening experience together. Let’s create the perfect acoustic environment!
Are There Specific Brands Recommended for Acoustic Treatment Products?
When choosing acoustic treatment, we recommend brands like GIK Acoustics for their effective acoustic panels and bass traps. Auralex’s foam solutions are budget-friendly, while Primacoustic offers professional-grade options. Let’s elevate our sound together!
How Does Room Size Influence Studio Monitor Sound Quality?
When it comes to studio monitors, room dimensions aren’t just important—they’re monumental! We’ve gotta consider sound reflection and absorption, as they shape our audio experience and help us create the perfect listening environment together.
Can External Factors Like Traffic Impact Studio Monitor Noise Levels?
Traffic noise can greatly affect our studio monitor experience. By using effective soundproofing techniques, we can minimize this external interference, enhancing our overall listening clarity and allowing us to appreciate every audio detail together.