
To set up your studio for live streaming, we need to focus on a few key areas! First, choose a solid camera, like the Sony Alpha ZV-E10 II for stunning image quality. Next, pair it with a good microphone, such as a dynamic mic, to guarantee clear audio. Don’t forget proper lighting—position a key light off-center and above eye level. Finally, secure a stable internet connection—ideally a wired Ethernet at 15 Mbps. Stick around, and we’ll dive deeper into each component!
Key Takeaways
- Choose high-quality audio equipment like external mics and audio interfaces for clear sound capture during live streaming.
- Select appropriate cameras, aiming for at least 1080p at 30fps for clear video quality while ensuring easy connectivity.
- Set up lighting by positioning key and fill lights to manage shadows and enhance visibility, along with a backlight for depth.
- Ensure a stable internet connection with a minimum upload speed of 11-15 Mbps, preferably via wired Ethernet for better performance.
- Conduct private test streams to assess audio and video quality, making necessary adjustments before going live.
Choosing Appropriate Hardware
You may be interested
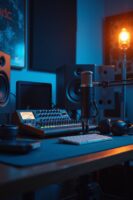
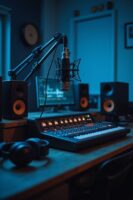
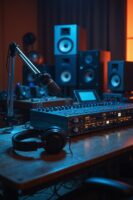
Audio Hardware
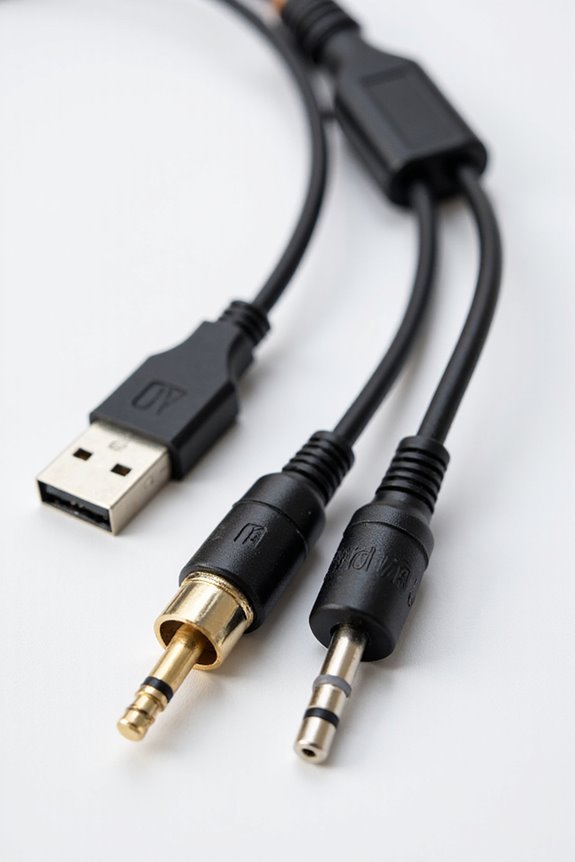
Clear audio is key! External mics with USB or XLR connections will enhance sound quality, ensuring our streams resonate with viewers. Let’s make it sound great, together! 🎤✨ Additionally, investing in a high-quality audio interface can significantly improve your recordings and overall sound clarity.
Recommended Products

PERFECT FOR BROADCAST: Designed as the perfect studio camera for ATEM switchers, this model has a 6K sensor up to 25,600 ISO, EF lens mount, HDMI out, SDI connections, 7" HDR LCD with sunshade, built-in color correction, built-in microphones, built-in hardware live streaming, and recording to USB disks.

PERFECT FOR BROADCAST: Designed as the perfect studio camera for ATEM switchers, this model has a 6K sensor up to 25,600 ISO, EF lens mount, HDMI out, SDI connections, 7" HDR LCD with sunshade, built-in color correction, built-in microphones, built-in hardware live streaming, and recording to USB disks.
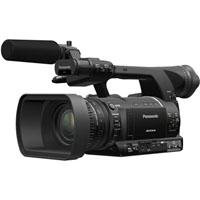
1/3"-Type 2.2 MP 3MOS Image Sensor w/ Integrated 22x (28-616mm Equiv) Lens
Selecting Cameras
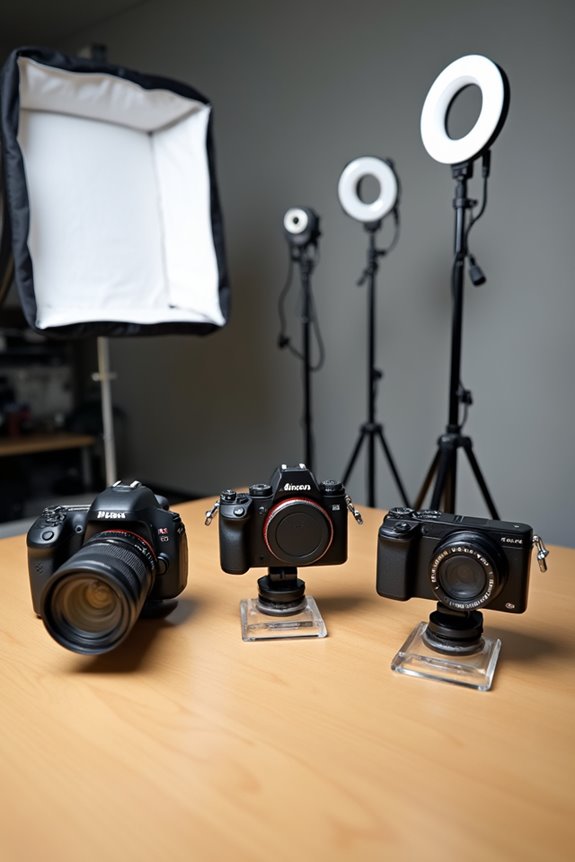
Camera Types:
- Dedicated Streaming Cameras: For exceptional image quality, check out the Sony Alpha ZV-E10 II or ZV-1. Both offer stunning 4K video and fantastic autofocus!
- Webcams: Options like the Logitech Brio provide flexibility, offering resolutions up to 4K and 90fps for smooth streaming.
Key Features to Evaluate:
- Aim for streaming resolutions of at least 1080p at 30fps for clarity. If you’re feeling fancy, 60fps is ideal for action-packed content!
- USB-C connectivity simplifies setup, while HDMI outputs boost signal quality—perfect for advanced setups.
Choose your camera wisely, and let’s make your streams shine! 🎥✨
Recommended Products

The Canon XF605 UHD 4K HDR Pro Camcorder excels in high-resolution video capture, supporting UHD 4K60 4:2:2 10-bit recording with its compact 1" CMOS sensor and DIGIC DV 7 engine. Its dual SD card slots enable simultaneous capture of different codecs and rates, accommodating diverse shooting needs and ensuring versatile footage options across XF-AVC and MP4 H.264/H.265 formats.

Lenovo ThinkPad E16 Gen 2 business laptop powered by an AMD Ryzen 7 7735HS processor with 8 cores and 16 threads for productivity, office work, remote work, multitasking, coding, and professional daily computing.

【Elite AI Performance: Ryzen 7 & RDNA 3 Graphics】Unleash the power of the AMD Ryzen 7 8745HS processor. Featuring a 45W TDP and advanced Radeon 780M integrated graphics with RDNA 3 architecture, this laptop delivers exceptional AI processing capabilities. Perfect for designers rendering 3D models or students running complex simulations, it offers desktop-level performance to effortlessly handle high-end creative software and AAA games.
Audio Equipment Setup
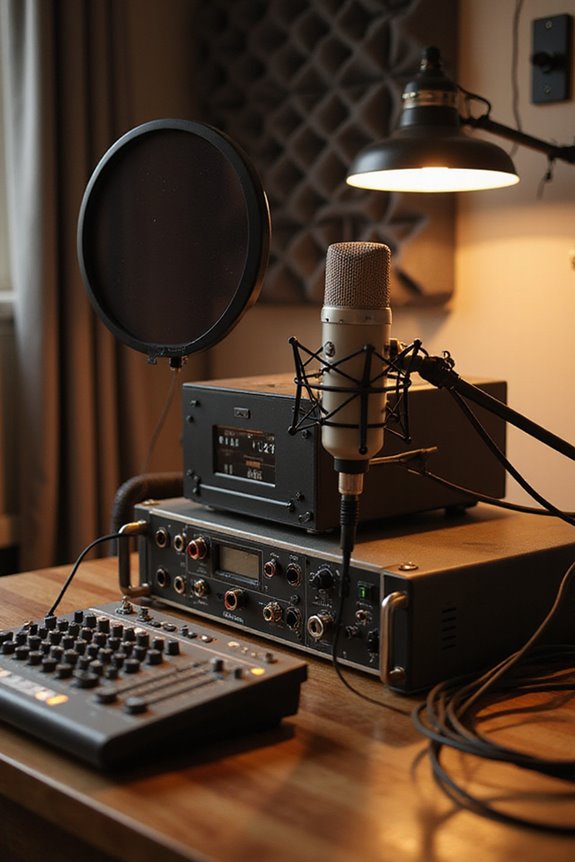
Setting the stage for your live streams isn’t just about the visual; the audio matters just as much! 🎤 First, let’s talk about microphone selection. If you’re in a noisy room, dynamic microphones can be a lifesaver, as they reject background noise. For studio clarity, consider a condenser microphone for its sensitivity. Don’t forget about lavalier and shotgun mics for hands-free convenience and targeted sound capture!
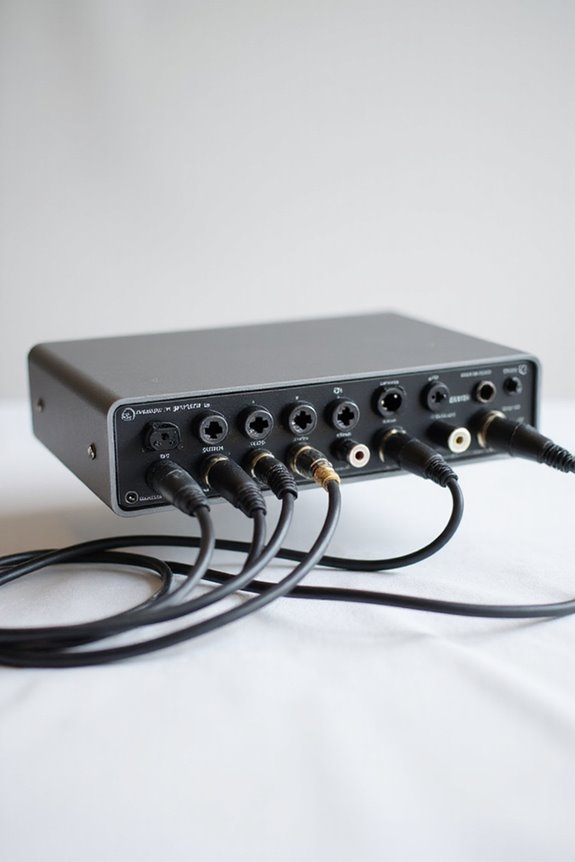
Now, let’s hook these bad boys up to an audio interface. This converts analog signals into digital—critical for XLR mics. USB interfaces like the Steinberg UR22mkII are fantastic for beginners and allow multiple inputs. Additionally, look for interfaces with zero-latency monitoring to ensure real-time audio feedback. Finally, use balanced cables to guarantee pristine sound quality. With this setup, you’ll sound as good as you look!
Recommended Products

【Next-Generation Robotic Companion: Meet the Unitree Go2 Robotic Dog】 The Unitree Go2 X is a powerful and intelligent quadruped robot designed for tech enthusiasts, researchers, and developers seeking ultimate performance and expandability. It measures 27.6""x12.2""x15.7"" and weighs just 33 lbs, yet carries up to 17.8 lbs and reaches speeds of 3.7 m/s. Its advanced joint mobility allows it to climb 40° slopes and overcome 6.3"" obstacles. An 8000 mAh battery provides 1–2 hours of operation.

Portable hybrid event switcher with comprehensive features and connectivity

Wireless Dolby Atmos 7.1.4: Experience powerful, room-filling immersion with 400W Wireless Dolby Atmos 7.1.4 audio that places you at the center of every scene for truly cinematic sound.
Lighting and Studio Environment
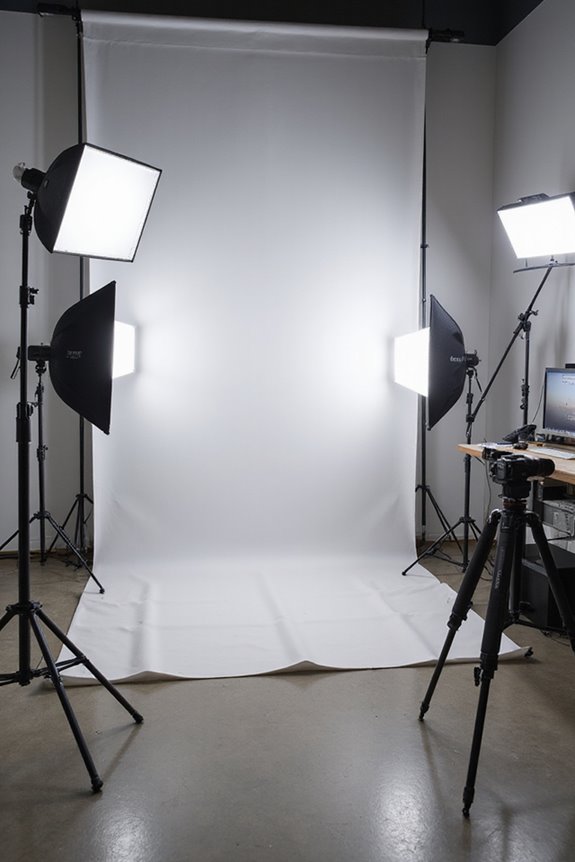
Achieving great lighting and a well-organized studio environment is essential for engaging live streams! 🎥 While we’re all excited about technical gear, creating an inviting backdrop can elevate your broadcast just as much.
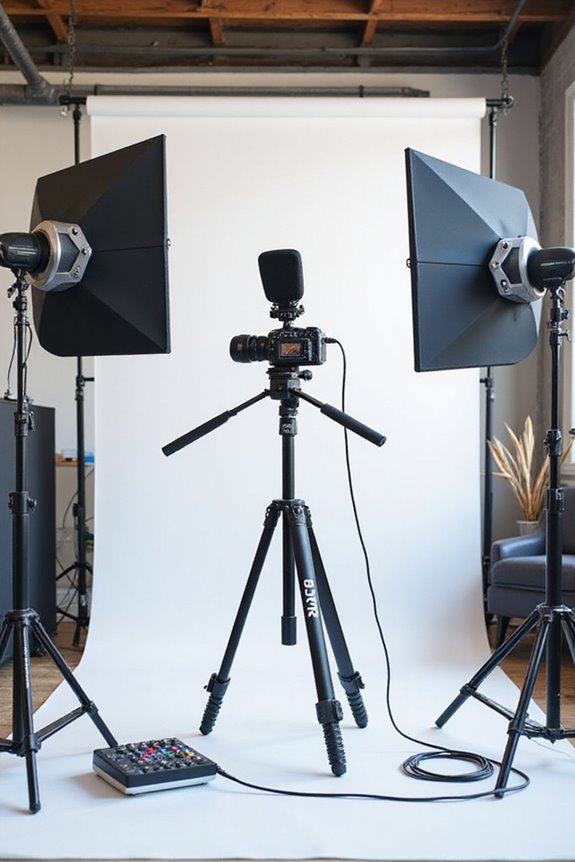
For effective shadow management, we should position our key light slightly off-center and above eye level. This softens shadows and defines our facial features beautifully. Using a diffuser makes our lighting even more flattering! A fill light can reduce harsh shadows—just make sure it’s lower in intensity.
Don’t forget a backlight to add depth and separate us from the background. Keep your studio tidy, control ambient light, and test everything! These tips will guarantee our streams look professional and inviting for our audience! 🌟
Recommended Products

🖥️OPTIONAL COLOR SELFIE MIRROR PHOTO BOOTH — This 40-inch magic mirror selfie photo booth supports black and white two optional colors, built-in 21.5-inch sensitive interactive touch screen. Equipped with built-in Intel i5 CPU, 8GB RAM + 256GB SSD, pre-installed Windows 11 system, equipped with optimized commercial imaging programs, fast response, no lagging, stable operation for event rental business. We also provide free custom logo service, exclusive customized logo printed on the outer aviation case for personalized branding

All-in-One 4K Live Studio: Built-in switcher, 4K encoder, recorder, and 8" touchscreen monitor in one device. Go live in minutes — no laptop, capture card, or extra software needed
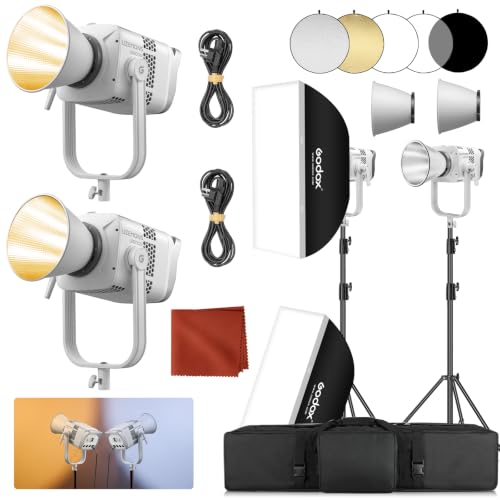
【Godox COB LED Video Light】The Godox LE600 Bi COB video light delivers a maximum illuminance of 113000 lux @1m, integrating high-brightness output, exceptional color rendering, and professional-grade control into a single unit. It offers professional performance at an entry-level price point, providing a cost-effective lighting solution for live streaming, interviews, and Videography.
Software and Encoding
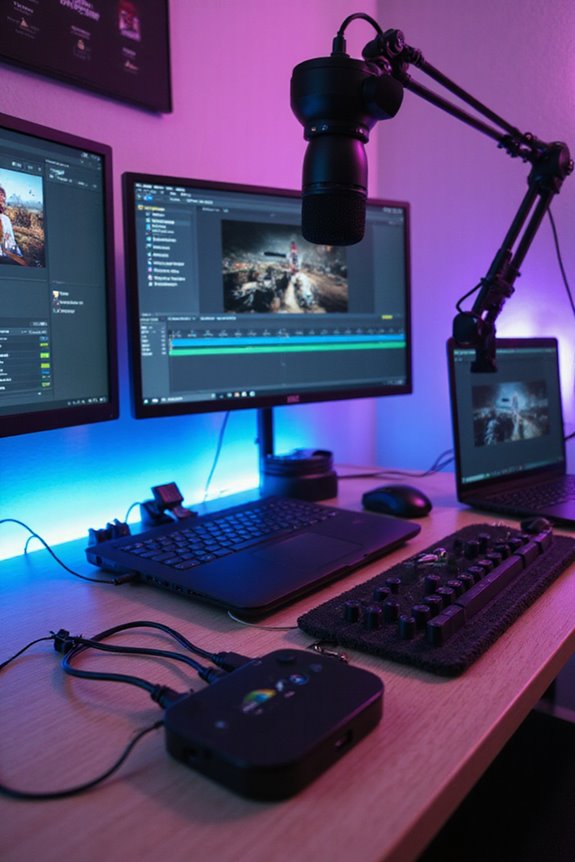
As for encoding settings, you’ll want to keep a few key points in mind. Aim for a bitrate between 3000-6000 Kbps for 1080p; it strikes a nice balance between quality and speed. Also, don’t forget about the H.264 codec for great compression. And remember, setting your keyframe interval to 2 seconds guarantees compatibility with most platforms. Let’s get streaming! 🚀
Networking and Streaming Platform Setup
Now that we’ve tackled the software and encoding aspect, it’s time to get our network and streaming platform set up for a seamless live streaming experience! First, we’ll need a stable, high-speed internet connection—ideally fiber optic—to keep that buffer monster at bay. A minimum upload speed of 5 Mbps is essential for 1080p streams.
Next, let’s talk platform compatibility. Choose platforms like YouTube Live or Twitch that work with our encoder. Don’t forget to configure our stream keys properly for secure access. Finally, prioritize network security by setting up firewalls and monitoring our bandwidth usage. Regular testing can save us from unexpected hiccups during broadcasts. 🎥 So, let’s create a smooth streaming flow together!
Recommended Products

[ELITE AI PERFORMANCE] Powered by the Intel Core Ultra 7 355 8-core processor (up to 4.7GHz) and 64GB DDR5 5600MT/s RAM for high-speed professional multitasking and AI-optimized workflows.

🚀【Elite 13th Gen 24-Core Processor for Ultimate Performance】 Engineered with a high-efficiency 24-core, 32-thread processor, this compact gaming desktop delivers exceptional speed and multitasking capabilities. With a max turbo frequency of 5.4GHz, it handles demanding games, 3D rendering, and live streaming effortlessly. Its advanced architecture ensures smooth gameplay and rapid response, making it ideal for gamers and creators seeking top-tier performance in a small form factor.

Armored Protection: Installerparts armored patch cable is wrapped in SUS304 stainless steel flexible jacket and is designed to resist outdoor weather conditions and protect connectivity and the cabling infrastructure from physical damage, moisture, UV and corrosion.
Setting Up a Multi-Camera Configuration
To make our live streaming sessions engaging, setting up a multi-camera configuration is essential! By using at least two cameras with HDMI output, we can capture different camera angles that keep our viewers hooked. Let’s position cameras for wide shots, close-ups, and even top-down views—always remember that good framing makes a world of difference. Using video switchers lets us practice our switching techniques, ensuring smooth changes between angles.
For ideal performance, we should choose quality cameras with stable power options, avoiding those pesky battery interruptions! Using video capture devices allows us to bring those beautiful feeds into our streaming software. Additionally, incorporating high-quality audio interfaces will significantly enhance the overall sound quality of our streams. With some planned rehearsals, we’ll elevate our production flow and make our streams look professional. Lights, camera, action!
Ensuring Optimal Internet Connection
When it comes to live streaming, ensuring an ideal internet connection can make all the difference! To start, we need to evaluate our internet speed. A minimum upload speed of 3 Mbps is essential, but for better quality—think 1080p or even 4K—aim for 11-15 Mbps.
Wired Ethernet connections are our best friend, providing upload stability and reducing dropped frames. Let’s not forget about bandwidth management! Disconnecting unnecessary devices and closing background apps can free up precious bandwidth.
Lastly, network monitoring is key. Regular speed tests help us track our performance. Remember, the goal is to keep our upload speeds comfortably above the minimum for a smooth experience. We’ve got this! 🎥💪
Testing and Going Live
Testing out our setup is as important as the internet connection we just optimized! Before we go live, let’s run some private test streams on platforms like YouTube Unlisted or Facebook Private. This simulates real broadcast conditions without unintended viewers. We should aim to schedule these tests at least 30 minutes before our live event. During these test streams, we’ll assess audio quality and video clarity by checking our microphone and camera settings. Plus, recording these sessions can help us identify any issues for post-event adjustments. Don’t forget to invite remote guests to verify their setups too! With thorough testing, we can tackle any hiccups, ensuring our live stream is smooth and enjoyable for everyone! 🎥🌟
Frequently Asked Questions
What Are the Best Practices for Engaging With Viewers During a Live Stream?
As we plunge into viewer interaction, we can enhance engagement by moderating chat effectively, using real-time Q&As, and creating a welcoming atmosphere. Together, we’ll build a community where everyone feels valued and heard.
How Do I Promote My Live Stream Effectively to Attract More Viewers?
To promote our live stream effectively, we should utilize social media for audience targeting. Engaging posts, collaborations, and interactive content can create a sense of belonging, drawing in viewers who feel connected to our community.
Can I Stream on Multiple Platforms Simultaneously?
Yes, we can absolutely stream on multiple platforms simultaneously! Using powerful streaming software, like StreamYard or Castr, lets us connect with our audience across diverse channels, strengthening our community and reaching more hearts together.
What Items Should I Have in My Streaming Backup Kit?
When we think about our streaming essentials, a solid backup kit’s crucial. Let’s include spare cameras, microphones, and extra batteries for our equipment. With everything ready, we can guarantee smooth streaming without worries!
How Do I Handle Technical Issues During a Live Stream?
When we encounter technical issues during a stream, we prioritize stream troubleshooting. Let’s check our connectivity issues, guarantee everything’s well connected, and remember to stay calm as we work through any challenges together.