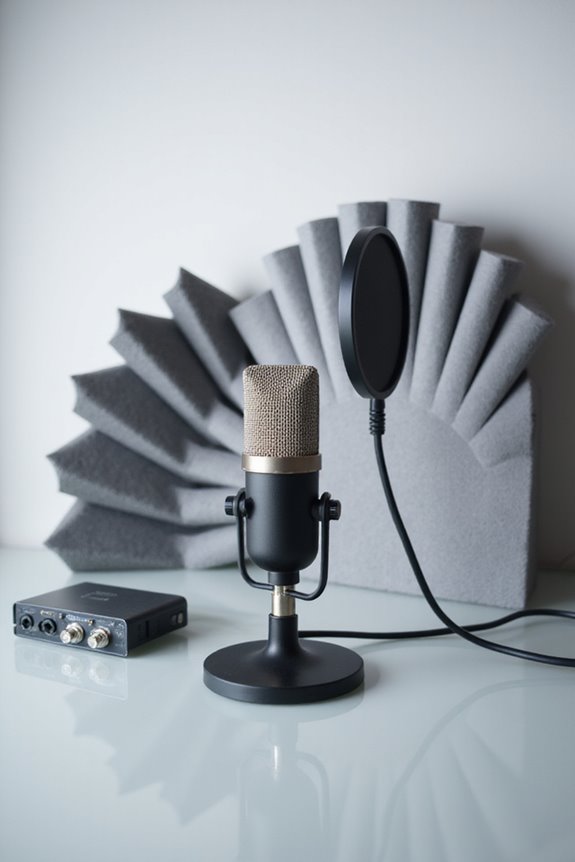
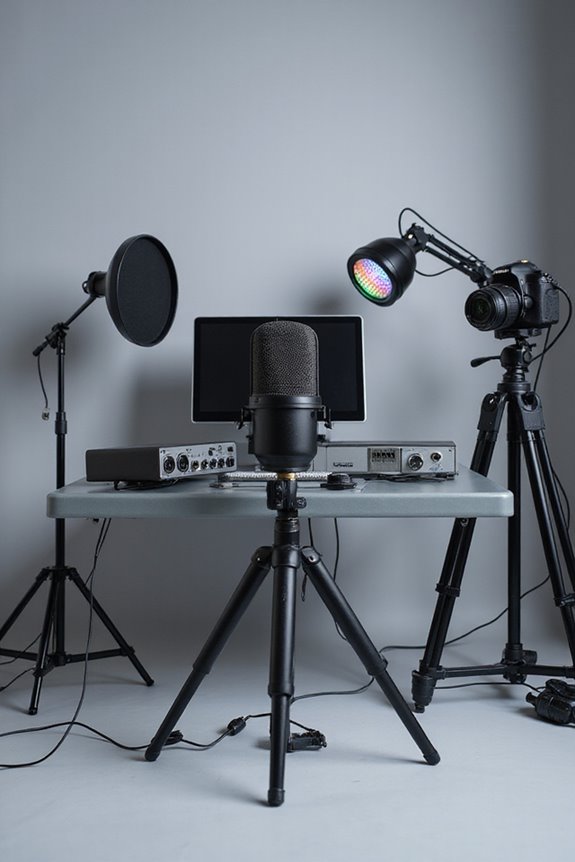

To set up a studio for streaming and podcasting, we need some essential gear! Start with a good microphone—like the Shure SM7B for crisp audio—and pair it with quality closed-back headphones, such as the Audio-Technica ATH-M40x. Next, focus on room acoustics; use absorber panels and heavy curtains for sound control. Lighting is just as crucial—try a ring light for even illumination. We’ve got you covered with more tips to optimize your setup! 😊
Key Takeaways
- Choose quality microphones, like USB for simplicity or XLR for versatility, to ensure clear audio during streaming and podcasting.
- Position desks and chairs symmetrically, and use acoustic panels to enhance sound quality by controlling unwanted reflections.
- Implement a lighting setup, starting with a ring light and adding key lights to ensure even illumination and minimize shadows.
- Ensure robust connectivity with wired Ethernet for low latency, and use audio interfaces for high-quality sound capture and playback.
- Budget wisely, allocating funds primarily for a quality microphone, headphones, and essential accessories, while considering secondhand options to save costs.
Essential Equipment for Streaming and Podcasting
You may be interested

When setting up your studio for streaming and podcasting, having the right equipment is crucial to achieving high-quality results. 🎤 Let’s explore the essentials, starting with microphones—your audio’s best friend! We can choose from USB or XLR types; the former is super handy, but the latter allows for flexibility with audio interfaces. For excellent sound, let’s consider models like the Shure, Samson Q2U, or Tonor TC-777!
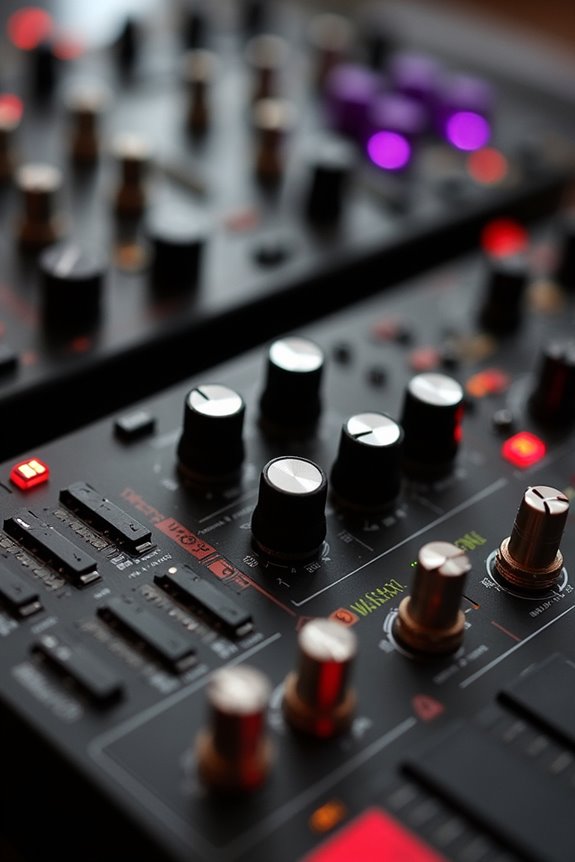
Next up, we need good headphones—over-ear types help us catch subtle audio details. Don’t forget about mixers for live setups and streaming platforms, which let us connect everything seamlessly! And let’s face it—lighting options and acoustic panels can make or break our video quality too. Additionally, using high-quality audio interfaces can significantly enhance your overall sound experience. You got this!
Recommended Products

For Recording Studios and Touring

Fully integrated audio production studio for podcasters, streamers, musicians and content creators
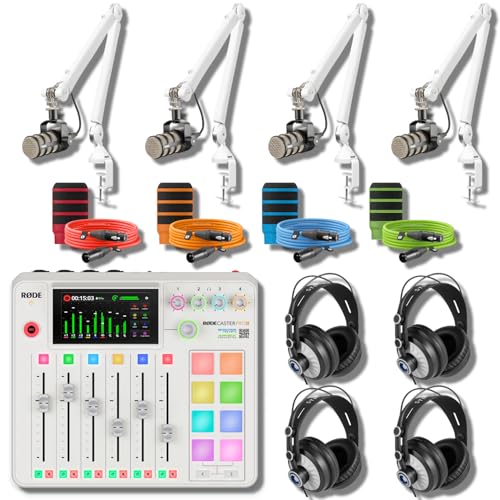
Fully integrated audio production studio for streamers, podcasters, musicians and content creators
Room Setup and Acoustic Treatment
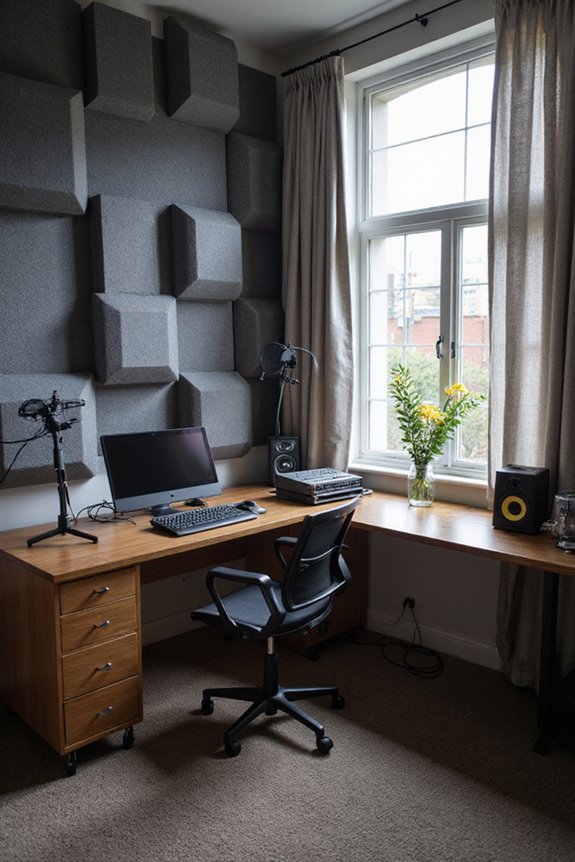
Creating the ideal streaming and podcasting setup is as much about the room as it is about the equipment! 🎤 We want to guarantee our space enhances sound quality instead of hindering it.
Room Layout
Position your desk and chair symmetrically between the walls, with monitors angled 30° toward you. This helps eliminate standing waves for clearer sound.
Soundproofing Techniques
Utilize absorber panels at mirror points, and install bass traps in corners to control low frequencies. A mix of diffusion and absorption on the rear wall keeps the sound lively. Heavy carpeting or thick curtains can help too, reducing unwanted reflections. Remember, we need balance—too much absorption can make the room sound dead. Let’s build a space that feels just right for your audience! Additionally, consider integrating an audio interface into your setup to ensure high-quality sound capture and processing.
Lighting and Video Setup
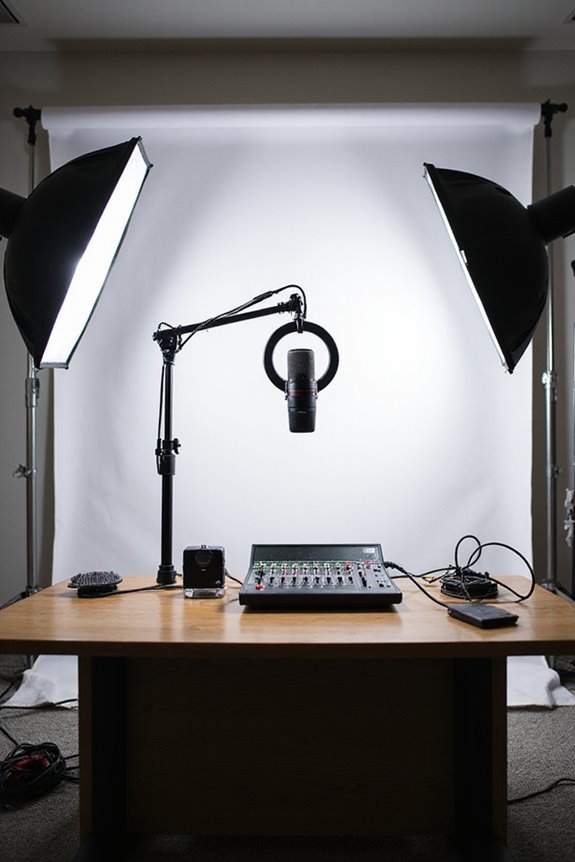
For lighting positioning, we recommend starting with a one-light setup using a ring light for even illumination. If you want to go further, a two-point setup works wonders. Place your key light at 45 degrees—this flattens shadows while highlighting your best features.
And hey, adding a backlight creates depth and makes you stand out from your background! Let’s avoid mixed lighting, though; consistency is key for a professional look. Happy lighting! 📸
Recommended Products

𝐂𝐎𝐎𝐊𝐓𝐎𝐏: The 8-dual burners are made from Italian solid brass and can output up to 20 000 BTU. Surface Burners Include Eight 20,000 BTU Max, 1,000 BTU Min, Dual Ring Burners For Maximum Cooking Control, Auto Flame Re-ignition on Surface Burners, Black Enamel Surface Plate for Easy Clean, Black Matte Cast Iron Continuous Burner Grates. Right Left Center Burner BTU: 20,000 Front Right Left Burner BTU: 20,000, Rear Right Left Burner BTU: 20,000, Rear Right Left Center Burner BTU: 20,000

Magic Mirror Photo Booth: Integrates full hd touch screen, auxiliary lighting and led ambient lights. Mirror photo booth features a mini computer with 8GB RAM and 256GB NAS. Available in 32 inch or 43 inch touch screen sizes for use

🥳【Full Set Mirror Photo Booth Built-in PC】Equipped with an Intel i5 processor,8GB RAM + 256GB SSD, ensuring smooth operation of the machine. Simply double-click the pre-installed photo software on the Magic Mirror Photo Booth to take photos and print them, or share them via SMS, email, QR code, or directly to Online social media apps. The package includes 65-43in magic mirror photo booth,a square fill light, a flight case, Camera, printer, 108 sheets of printer paper, 3 color ink cartridgesq , fun props, masks and a red carpet, Free Custom Logo Design creating a premium photo experience.
Technical Setup and Connectivity
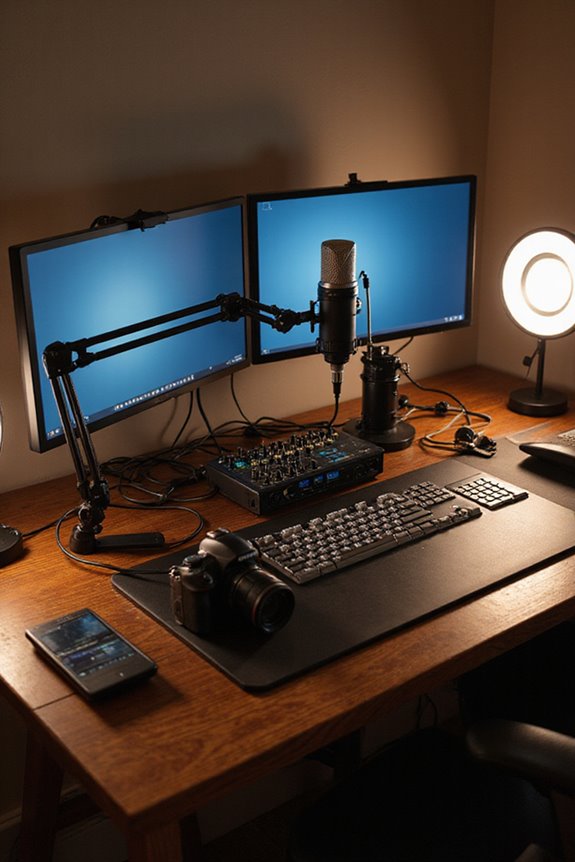
Setting up the technical aspects of your streaming and podcasting studio is essential for delivering high-quality content. We need to choose the right hardware for a seamless experience! Start with XLR mics, like the Shure SM7B, for crisp audio. An audio interface, such as the Focusrite Scarlett 2i2, converts our audio signals into digital formats, while quality XLR cables guarantee stable connectivity options.
For monitoring, closed-back headphones like the Audio-Technica ATH-M40x will be our best friends! Don’t forget to connect everything properly to reduce latency. A wired Ethernet connection will provide the smoothest streaming experience. Additionally, consider using interfaces that offer zero-latency monitoring to ensure real-time audio feedback during your recording sessions. With proper settings and a great setup, our audio will resonate beautifully!
Recommended Products

16 x 22 Thunderbolt 3 audio interface with class-leading 24-bit/192 KHz conversion

【 Hybrid Video Switcher & PTZ Controller】Seamlessly control up to 4 PTZ cameras via VISCA/VISCA-over-IP with the integrated 4D joystick. (No Extra PTZ Controller Needed")Enjoy intelligent one-touch AI tracking (Ctrl+CAM1-4), 10 programmable presets with one-click recall, and adjustable pan/tilt/zoom speeds—empowering solo operators to deliver professional multi-camera live streams without extra gear.

INCLUDED - Focusrite Scarlett 18i20 4th Gen USB Audio Interface, IEC USB Cables, AT2020 Mic, Pop Filter, Mic Stand, Headphones, XLR Cable Focusrite 3-Year Warranty.
Workflow and Production Tips
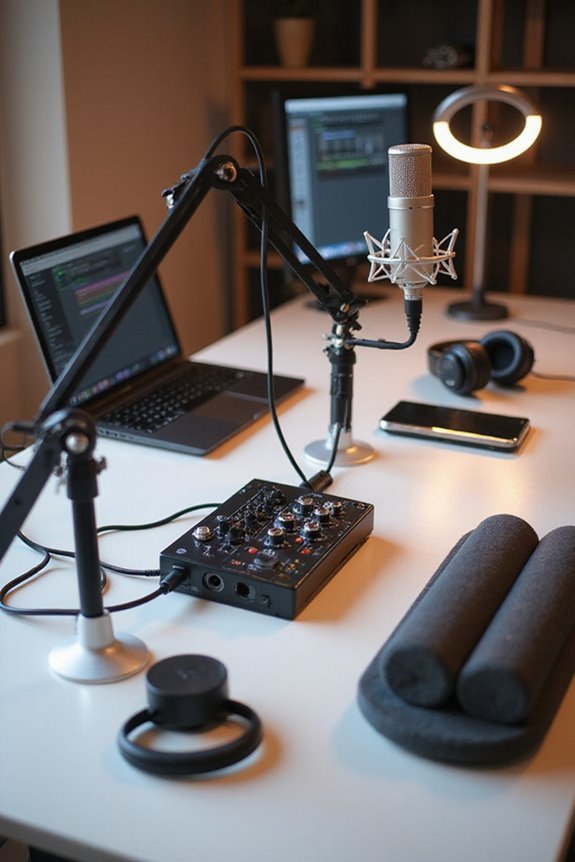
When we plunge into the world of streaming and podcasting, having a smooth workflow can make all the difference! To empower us, let’s focus on workflow optimization. First, thoroughly plan episodes with detailed outlines—this keeps the content flowing and minimizes confusion during recording. Using multi-track recording separates audio sources, allowing for higher control and better quality. Don’t forget to monitor audio levels in real-time to catch issues early. For post production efficiency, dedicated editing software can save time with AI features like silence removal. Schedule ample editing time! Consistent branding elements help reinforce our identity. Plus, using reliable hosting platforms like Podbean makes distribution a breeze. Opt for audio interfaces with 24-bit/192 kHz resolution to enhance your streaming sound quality. Let’s elevate our craft and engage our audience together!
Budgeting for Your Studio
Budgeting for your studio can feel like maneuvering through a maze, but we’re here to simplify it! Start with solid budget planning—aim for around $200-$300 for essential gear. We recommend allocating 60% for a quality microphone, 25% for headphones, and 15% for accessories like cables. If you’re recording solo, a USB mic under $100 will do wonders.
Don’t overspend beyond $300 unless your format—like group podcasts—demands more. A good cost analysis helps prioritize impactful items such as microphones over less critical accessories. Consider secondhand gear for budget-friendly options! Keep your goals in mind: starting small lets you upgrade gradually as your audience grows. Additionally, investing in a reliable audio interface can improve your recordings by providing low latency performance for real-time monitoring. Let’s guarantee our spending hits the sweet spot between necessity and quality!
Recommended Products

BROADCAST-GRADE DESKTOP RIG — DUAL-OUTPUT MIC, SILENT BOOM ARM, BALANCED XLR CABLE: Recording broadcast voice at a desk needs more than the mic alone — you need an arm to hold the mic silently above the desk and a balanced XLR cable to drive an interface cleanly. This bundle includes the Rode PodMic USB dual-output dynamic mic, the PSA1+ studio boom arm, and a 10-foot 3-pin XLR cable. Podcasters, streamers, and broadcasters — start recording today.


Custom three-capsule array: This professional USB mic produces clear, powerful, broadcast-quality sound for YouTube videos, streaming microphone for PC gaming, gaming microphone, podcasting, Zoom meetings, music recording, and more
Recommended Equipment for Beginners
Recommended Products
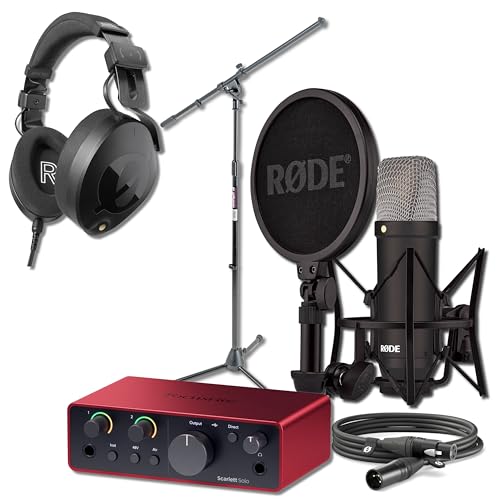
FOUR-PIECE VOCAL CHAIN — STUDIO CONDENSER, INTERFACE, BOOM STAND, AND CLOSED-BACK HEADPHONES: A new home studio needs more than the mic alone — you need a phantom-powered interface, a stand at vocalist height, and closed-back headphones that don't bleed back into the capsule. This bundle pairs the Rode NT1 Signature Black with the Focusrite Scarlett Solo (4th Gen), the On-Stage MS7701B Euro Boom Stand, and the Rode NTH-100 headphones. Vocalists, songwriters, voice-over artists, and home producers — plug in, set the gain, and record on day one.
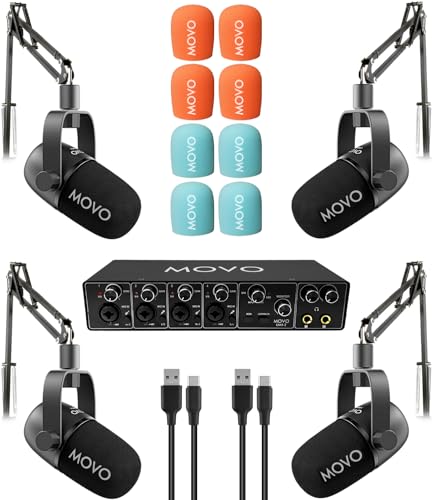
COMPLETE 4-PERSON PODCAST KIT – Everything you need to start recording with a team: UMX-2 4-channel USB audio interface, 4 CastMic dynamic microphones, and 4 tabletop stands. Unbox and start podcasting in minutes.

Product 1: Capture close-miked vocals and instruments with a classic dynamic cardioid mic
Microphone Types
For beginners, USB microphones like the Samson Q2U or Blue Yeti are a breeze to use. They plug right in! If you’re after more flexibility, XLR options provide fantastic quality but need an audio interface. Dynamic mics help reduce background noise, perfect for cozy setups. Additionally, USB microphones come with user-friendly designs that simplify recording processes, making them ideal for newcomers.
Headphone Choices
Make sure to take into account closed-back studio headphones like Sony MDR7506 for great isolation. They won’t leak sound! For accuracy, flat-response headphones are essential during editing. Keep comfort in mind, especially for those long recording sessions! Check out budget choices like Behringer BH 470 for quality without breaking the bank. Happy recording!
Optimizing Audio and Video Quality
How can we truly elevate our audio and video game? First, let’s focus on video consistency. We should aim for at least 1080p resolution and stick to 24 to 30 fps, bumping it to 60 fps for action-packed content. Choosing a camera with clean HDMI output is essential—no pesky overlays here!
Next, let’s not forget audio clarity! A good condenser or dynamic microphone makes a world of difference. We should always monitor sound levels and use headphones to catch issues on-the-fly. A quiet, controlled environment is your best friend, plus don’t skimp on lighting! Softboxes or ring lights create that professional vibe we all crave. With these tips, we’re on our way to achieving amazing results! 🎥🎤
Tips for Maintaining Your Studio
When it comes to maintaining our studio, we can’t underestimate the importance of regular upkeep! Keeping up with studio hygiene helps us guarantee equipment longevity and high-quality performance. Let’s start with regular cleaning—wiping down microphones, headphones, and surfaces after each session stops dust from causing damage. We should also keep cables and connectors clean to avoid pesky static issues!
Next, monthly tests on all cables and equipment help catch faults early. Don’t forget software updates and backups, either! They keep our recordings safe and sound. Finally, storing gear properly, away from moisture and sunlight, helps protect our investments for the long haul. With a little dedication, we can keep our studio thriving! 🎤✨
Frequently Asked Questions
How Do I Choose the Right Microphone for My Voice?
Choosing the right microphone for our voices is like finding the perfect pair of shoes—it takes testing! We should consider various microphone types, prioritize comfort, and conduct voice testing to guarantee clarity and connection.
Can I Podcast or Stream From a Bedroom?
Absolutely, we can definitely podcast or stream from a bedroom! By focusing on bedroom acoustics and space optimization, we’ll create a cozy, effective setup that feels inviting and enhances our creative expression. Let’s get started!
What Software Is Best for Recording and Editing?
When we explore the best audio software for recording and editing, we can’t overlook tools like Podcastle and Zencastr. Their editing tools make our audio shine, making every recording feel professional and enchanting.
How Can I Promote My Podcast or Stream Effectively?
To promote our podcast effectively, let’s leverage social media for audience engagement. We’ve got to create consistent, interactive content that resonates and fosters community. Together, we’ll build connections and grow our listener base organically.
What Common Mistakes Should I Avoid When Starting?
When starting out, let’s avoid common mistakes like neglecting audio quality and lighting setup. We need to prioritize clear sound and a well-lit environment to truly connect with our audience and create a welcoming experience.