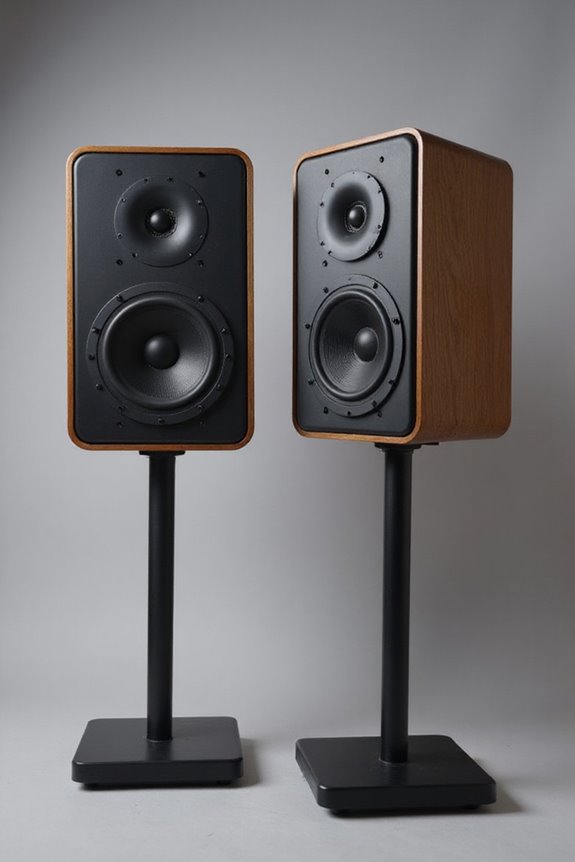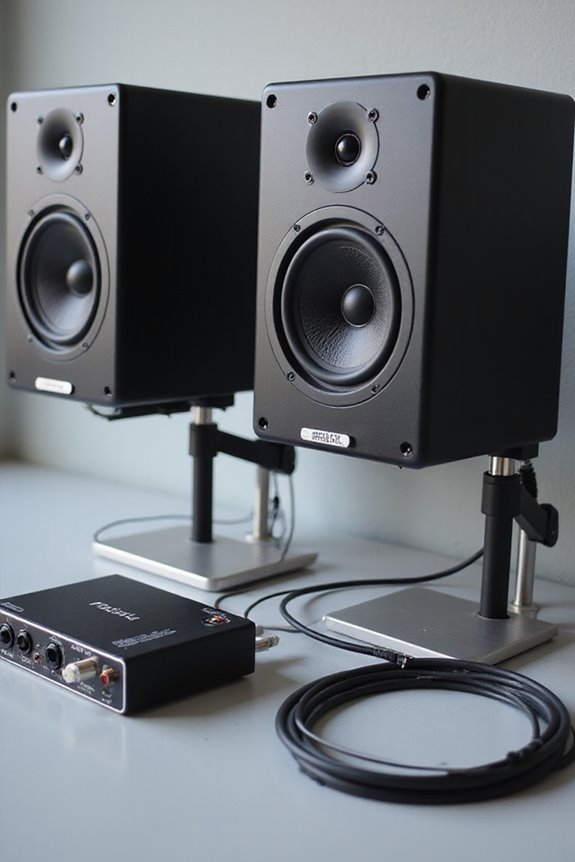


When calibrating our studio monitors, we should aim for around 85 dB SPL for precise measurements. However, let’s adjust based on room size; in smaller spaces, 73-76 dB SPL works best to avoid overwhelm. Remember, we need pink noise for calibration, keeping our monitors well-placed and using acoustic treatments. Plus, let’s protect our ears—mixing at 60-70 dB SPL is safer! 🎧 Stick around, and we’ll uncover more tips for optimizing your sound experience!
Key Takeaways
- Aim for 85 dB SPL for accurate monitoring in standard environments; adjust based on room size and acoustics.
- In small home studios, target 73-76 dB SPL to avoid listener fatigue.
- For medium control rooms, increase levels to 78-80 dB SPL to counter ambient noise.
- Protect hearing by mixing at levels around 60-70 dB and taking breaks every 40-60 minutes.
- Use an SPL meter and pink noise for precise calibration of each monitor.
Understanding Calibration Standards for Studio Monitors
You may be interested
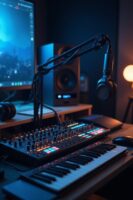
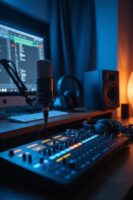
When it comes to studio monitors, understanding calibration standards is essential for getting the best sound possible! 🎶 We want our mixes to translate well across different systems, and that all starts with how we set our monitor levels.
To guarantee accurate SPL measurement, we typically aim for 85 dB SPL, but this can be loud for smaller rooms. For instance, in spaces less than 450 sq ft, 74 dB is ideal. Using proper calibration techniques—like employing pink noise and an SPL meter—helps us achieve these levels accurately. Remember to calibrate each monitor individually, and document those settings for consistency! It’s all about creating a trustworthy monitoring environment, so let’s keep our levels in check and our mixes sounding great! Additionally, ensuring your audio interface has high-quality preamps can significantly enhance the clarity and fidelity of your monitoring experience.
Recommended Products

🚀 Revolutionary Dual OS Architecture | Professional-Grade Performance ✓ Android 13 Smart Collaboration Platform 8GB RAM + 128GB ROM for seamless multitasking across 10+ apps, preloaded with Google Workspace & 5,000+ EDU tools Zero-Gap Optical Bonding display (320cd/m² brightness + 178° wide viewing angle), crystal-clear visibility in bright environments ✓ Windows 11 Pro Workstation Power Intel i7-9750H Processor | 16GB DDR4 | 512GB SSD for CAD/PS/4K video editing TPM 2.0 encryption + GDPR compliance for enterprise-level data security

Cinematic Monitoring & Recording with Atomos: The Atomos Ninja TX GO 5" HDR touchscreen monitor-recorder combines HDMI I/O, Apple ProRes/RAW capture to ultra-fast CFexpress or USB media, and professional monitoring tools. With built-in Wi-Fi 6E, NDI 6 streaming, and camera control, it’s the ultimate solution for creators using HDMI DSLRs and mirrorless cameras.

【High Bright Screen with Excellent Image Quality】With the upgraded 1000 nits brightness and 1450:1 contrast ratio, you may not even need a sun hood when shooting under daylight. Plus the 1920×1200 full HD resolution,1.07 billion colors and full manual calibration controls, Megamon15 can present a sharp and accurate image from your camera
Ideal Monitoring Volume Levels for Different Environments
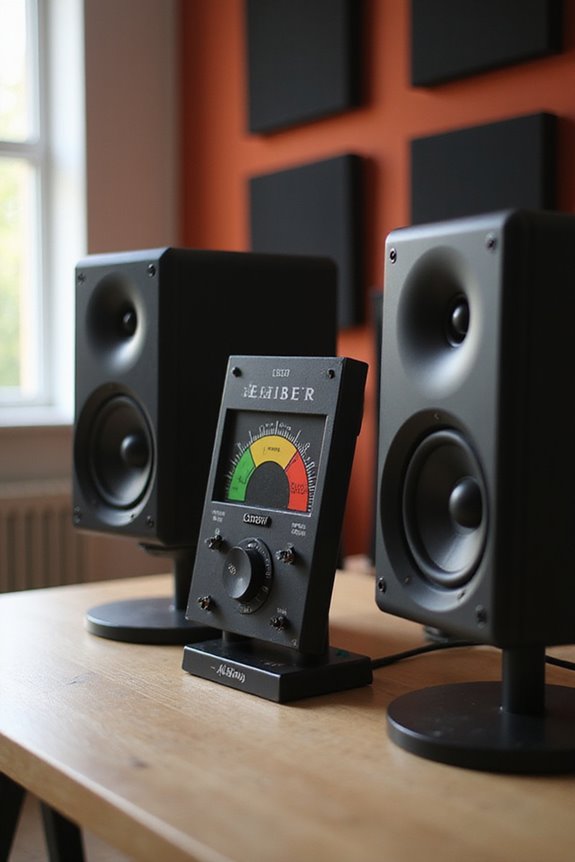
Getting the right monitoring volume for your studio can feel like finding the perfect groove! 🎶 While everyone’s space differs, understanding the ideal levels for various environments is essential to making your mixes shine.
Small Home Studios
For studios under 142 cubic meters, aim for 73-76 dB SPL. This range prevents listener fatigue and keeps your mixes clear.
Medium-Sized Control Rooms
If you’re in a medium room (142-566 cubic meters), bump it up to 78-80 dB SPL to counter ambient noise.
Large Studios
For larger spaces, 83 dB SPL is your sweet spot.
Recommended Products

CoActual technology combines DSP time-correction and point-source design for symmetrical soundstage and micro-definition imaging

THE PERFECT PAIR. Bluetooth 5.0 wireless connectivity provides ultimate flexibility, allowing you to effortlessly create a 2.1 monitoring system.

Big sub-low end. 10-inch, front-firing, glass-composite, low-frequency transducer.
The Impact of Room Size and Acoustics on Monitor Volume
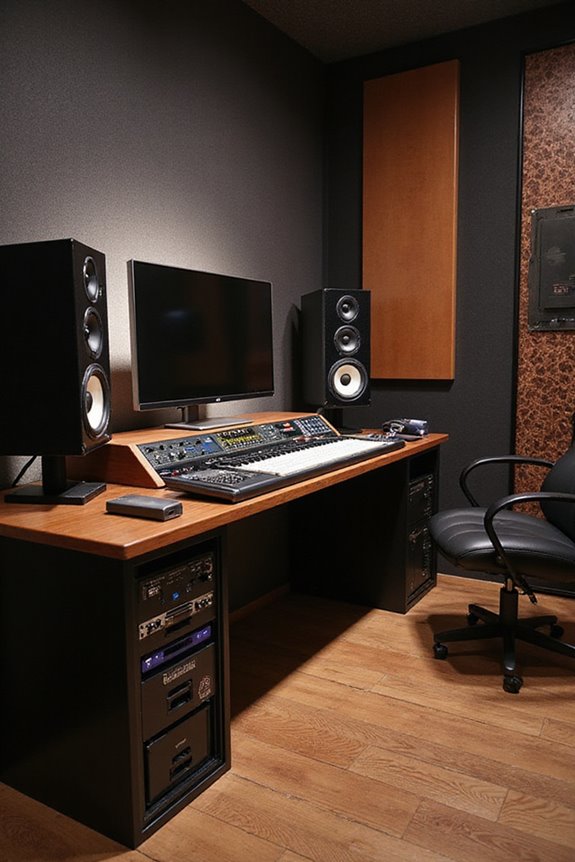
Understanding how room size and acoustics affect monitor volume is essential for getting the most out of our mixing sessions! 🎶 While it may seem like a minor detail, the interaction between sound and space can greatly alter what we hear, and as a result, the decisions we make in our mixes.
In smaller rooms, we need to keep monitoring levels lower to avoid overwhelming sound pressure. Proper monitor placement is vital; for instance, corners can boost sound levels considerably! We’d recommend starting at about 76 dB SPL in a room around 60 m³. Remember, room acoustics play a huge role—using acoustic treatments can help us get a clearer, more accurate sound! Additionally, monitor placement is crucial for optimizing audio performance in any studio setup. Let’s refine our setups together!
Recommended Products

8-input, 2-bus design
![IMPACT SPORTS Golf Wall Padding – 20"x20"x2" PU Leather Memory Foam Panels - Impact Absorbing Panels for Golf Simulator Rooms [12 Pack]](https://m.media-amazon.com/images/I/415IOorVpLL._SL500_.jpg)
Complete 8-Pack Coverage: Optimize your golf simulator experience with our black standard lightweight gym wall padding; our acoustic foam panels pack includes eight 20"x20"x2", providing extensive coverage for noise control and impact protection

Professional-Grade Room Correction System: Includes a high-precision measurement microphone, advanced calibration software, and a dedicated stand-alone processor, delivering precise and unmatched acoustic optimization for any studio or listening environment.
Hearing Health: Protecting Your Ears While Mixing
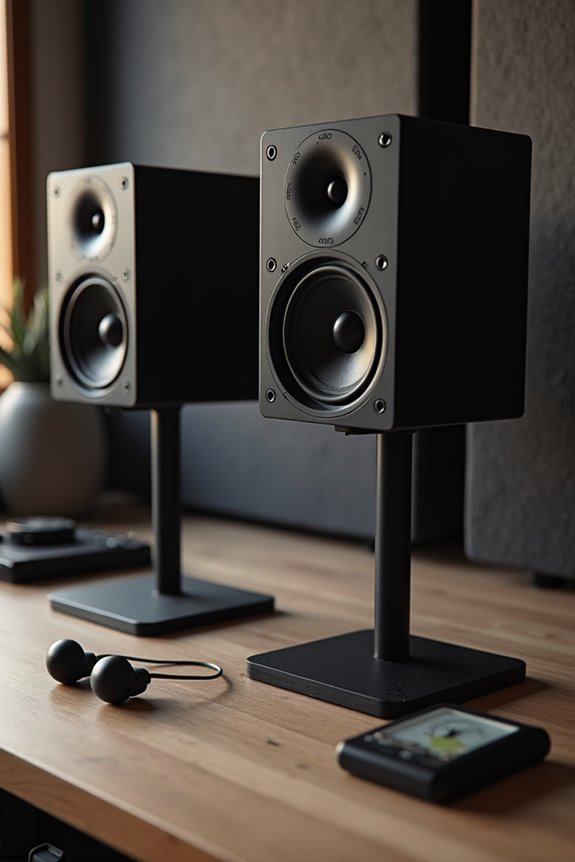
It’s no secret that mixing can get our adrenaline pumping, but protecting our hearing is a vital part of the process! 🎧 As we plunge into our mixing sessions, keeping an eye on volume levels is imperative for both our creativity and ear health.
We should aim for levels around 60-70 dB, similar to normal conversation. This protects us from sound fatigue and potential hearing loss. Let’s not forget to give our ears a break every 40 to 60 minutes, too!
If we’re mixing at higher volumes, hearing protection, like earplugs, can work wonders. Tracking sound levels with a decibel meter or app guarantees we stay within safe ranges, keeping those tinnitus buzzes at bay! Additionally, ensuring that our audio interfaces maintain high-quality sound recording can significantly enhance our mixing experience while prioritizing our ears. Let’s prioritize our ears while creating magic!
Technical Factors Influencing Monitor Output
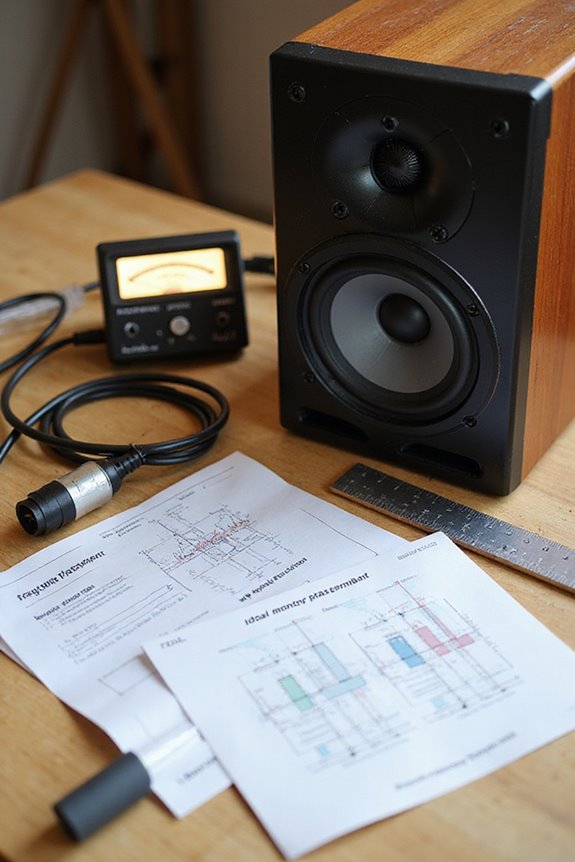
When crafting the perfect mix, the technical factors influencing monitor output play an essential role! 🎶 Various components, like amplifier power, frequency response, and enclosure design, work together to guarantee your sound remains clear and accurate, even at high volumes.
Amplifier Power
Higher wattage means louder max output—like the Genelec 8050A’s impressive 150W bass power! Keep in mind, though, over-amping can lead to distortion.
Frequency Response
Accurate response is vital for great sound, typically ranging from 32 Hz to 25 kHz. A flat frequency response is crucial for ensuring sound accuracy, which is important for mixing decisions.
Enclosure Design
Well-designed acoustic structures minimize distortion, ensuring clarity at all volumes.
Practical Guidelines for Setting Up Monitor Volume
Setting the right volume for your studio monitors can feel like trying to find the perfect coffee brew—too weak and you’re left unsatisfied, too strong and you might end up jittery! 🎧 So, let’s plunge into some practical guidelines for setting up monitor volume that helps you find that sweet spot without straining your ears.
Start by placing monitors at ear height, ideally 110 cm from the wall, to avoid bass buildup. Remember to keep initial volume adjustments low for listener comfort. Aim for levels around -20 dBFS in your DAW. Don’t forget to take breaks to avoid fatigue! Using monitor controllers helps fine-tune volume adjustments and switch easily between setups. Additionally, consider the recommended power ratings to ensure your monitors can deliver sufficient loudness without distortion. Let’s keep our ears happy while making great music!
Recommended Products

FLAGSHIP SOUND ENGINE: Powered by the V31 module, the Roland 3-Series V-Drum delivers the same advanced sound technology as the top-tier V71, offering dynamic tone, expressive detail, and professional-grade performance

Elite Performance DJ and Studio - Rane PERFORMER controller with M-AUDIO Forty Sixty monitors for superior sound

HIGH-END SOUND QUALITY FOR SERIOUS ENTHUSIASTS – Audiophile level sound stage produced by the finest quality components. Features ribbon horn tweeters and 6.5in woofers that provide crisp, clear, natural sounding highs and powerful room-shaking bass that doesn't distort at higher volumes.
Maintaining Consistent Levels for Accurate Mixing Sessions
Maintaining consistent levels during mixing sessions isn’t just about keeping the volume in check; it’s like ensuring your favorite tune stays on beat! 🎶 For us to create balanced mixes that translate well across various playback systems, establishing a reliable reference level is essential. This is especially important when using high-performing mic preamps to capture clear audio, as they can significantly impact the final sound quality.
Recommended Products

PRECISE: Conforms to ANSI S1.40-1984 and IEC942 1988 Class 2 standards, ensuring accurate calibration.

Bundle Includes: 2 x Yamaha HS7W 6.5-Inch Powered Studio Monitor (White)
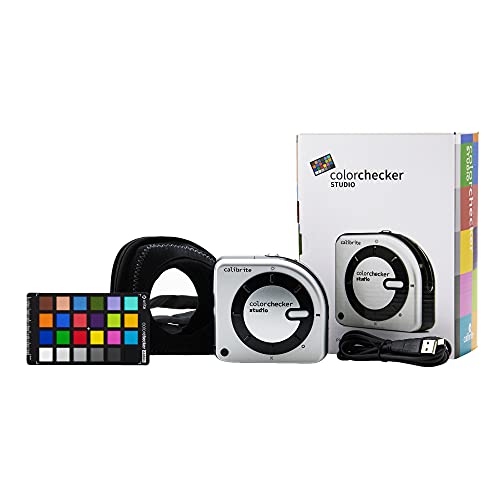
SPECIFICATIONS: All in one spectrophotometer for camera to print color control, supports monitor display and projector profiling plus printer paper and scanner profiling with Calibrite PROFILER software, includes ColorChecker Classic Mini target for camera profiling, includes USB cable and monitor profiling holder pouch.
Frequently Asked Questions
How Can I Test My Studio Monitors for Accuracy?
Testing our studio monitors for accuracy can feel like rocket science, but it’s just monitoring sensitivity and frequency response. Let’s get a sound meter, generate pink noise, and fine-tune together for perfect balance.
What Types of Pink Noise Should I Use for Calibration?
When we calibrate our studio monitors, exploring various pink noise types is essential. Utilizing full spectrum and narrow band pink noise in our calibration techniques helps guarantee accurate sound reproduction and enhances our mixing experience together.
Should I Adjust Monitor Volume for Different Genres of Music?
As the saying goes, “Different strokes for different folks.” We must adjust monitor volume for genre dynamics, ensuring volume consistency helps us capture the essence of each style and create mixes that truly resonate with our audience.
How Do Different Monitor Brands Affect Volume Calibration?
When we explore how monitor brands affect volume calibration, we see brand characteristics influence our calibration techniques. Understanding these nuances helps us achieve consistent sound levels, fostering a community that values accurate audio experiences together.
What Role Does Monitor Placement Play in Sound Perception?
When we consider monitor placement, finding that ideal distance and harmonizing with our room acoustics can transform our listening experience. With careful positioning, we create a welcoming environment that enhances every note we cherish.