Absolutely, we can build a home studio on a budget! 🎤 Start by budgeting around $100 to $300 for a computer, audio interface like the Focusrite Scarlett 2i2, and a quality mic like the Shure SM57. Choose a space that’s around 12×15 feet, and don’t forget to add some acoustic treatments! Bass traps and absorption panels will help your sound. With careful planning and strategic buying, we can create a fantastic space together! Stick around for more tips! 🎶
Key Takeaways
- Set a budget between $100 to $300 for essential gear like a computer, audio interface, and microphone for affordable setup.
- Choose a rectangular room of 12 feet wide and 15 to 20 feet long to minimize acoustic issues.
- Invest in acoustic treatments, like bass traps and absorption panels, to improve sound quality without hefty expenses.
- Look for budget-friendly gear options, including both new and used equipment, to maximize your resources.
- Join online communities for support and tips on building your home studio effectively while staying on budget.
Understanding Your Budget and Costs
You may be interested
When you’re diving into the world of home studios, understanding your budget and costs is the first step toward bringing your musical dreams to life! 🎶 We don’t want you to break the bank, so let’s chat about how to plan wisely.
First, we need to establish clear budget categories. Start with essential gear like a computer (aim for 8GB RAM), audio interface, and microphone—those costs can range from $100 to $300! Don’t forget to allocate a portion for unexpected expenses, like cables or connectors, which can add up. Consider investing in an audio interface like the Focusrite Scarlett Solo 3rd Gen for superior audio quality and easy setup.
As we progress, consider both new and used gear. A little DIY work can save money too! Remember, we’re in this together; let’s make your home studio dreams a reality!
Choosing the Right Space for Your Studio
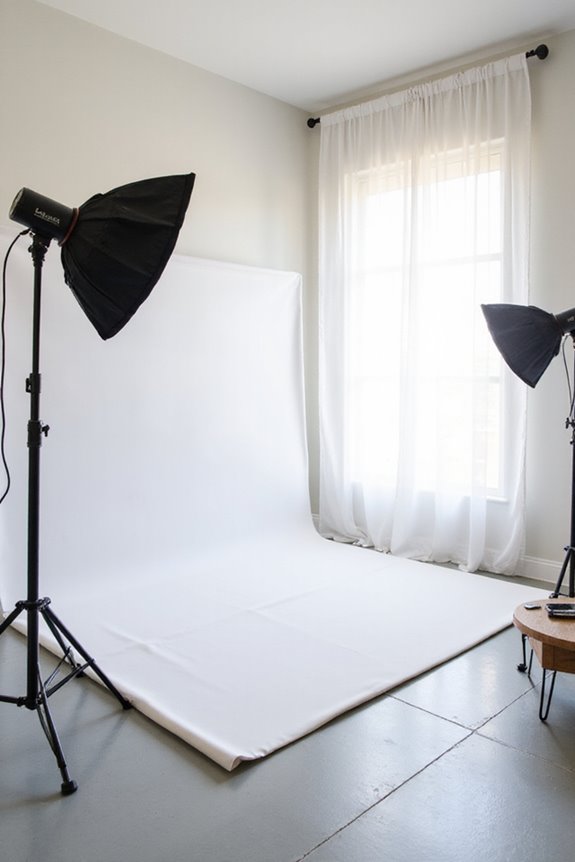
Have you ever wondered how your space can make or break your home studio experience? 🎤 Choosing the right area for your studio is essential for achieving great sound and a productive atmosphere. First, consider the room dimensions; an ideal width of 12 feet and a length of 15 to 20 feet can do wonders! Rectangular shapes are our friends, as they help reduce acoustic issues. Non-parallel walls also support better sound—with a ceiling height of around 10 feet, we’re golden! We need to prioritize ergonomic space layouts, allowing us to move comfortably around our equipment. Additionally, investing in acoustic treatments can significantly enhance sound quality in your studio. Don’t fret if your room’s not perfect; we can adapt with some clever acoustic treatments to create our ideal studio vibe! Let’s get started!
Recommended Products

WALL-MOUNTED PARTITION: This Wall-Mountable version of the Room Divider 360 Partition is perfect to create space for numerous functions. It forms workplace areas in offices, or any situation that would require consistent use of the Room Divider 360. Wall Mount Included.

12 Piece Kit contains 8 wall panels and 4 ceiling panels, each panel is sized 24" x 48" x 2"

Made with a solid wood foundation and wooden slats.
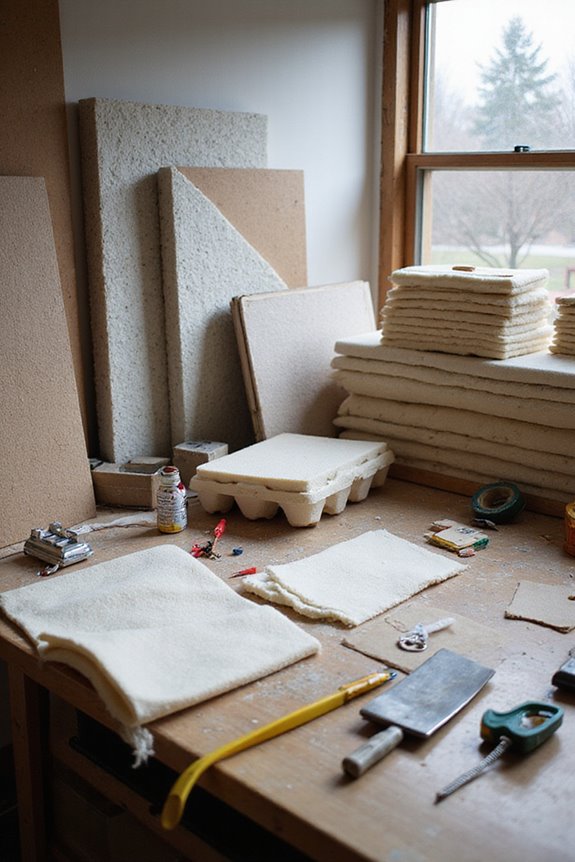
Acoustic Considerations for Optimal Sound
Next, don’t forget about bass trapping. Installing those triangular traps in corners absorbs low frequencies, preventing that “boomy” mess we all dislike.
Achieving a good absorption balance is key; aim for around 30-50% wall coverage with panels. Remember, acoustic symmetry is critical for balanced audio—ensure equal panel distribution to maintain stereo imaging. Additionally, considering frequency response will help ensure you select the right studio monitors for optimal sound quality.
With these tips, we can create a fantastic sounding environment in our home studio! Let’s get to work!
Recommended Products
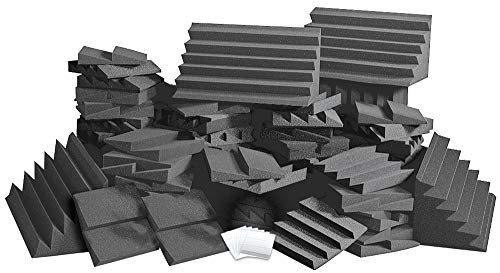

High NRC Rated Core .95 or higher avg.

Low-frequency Absorption Panel for 60Hz-125Hz - Natural Oak
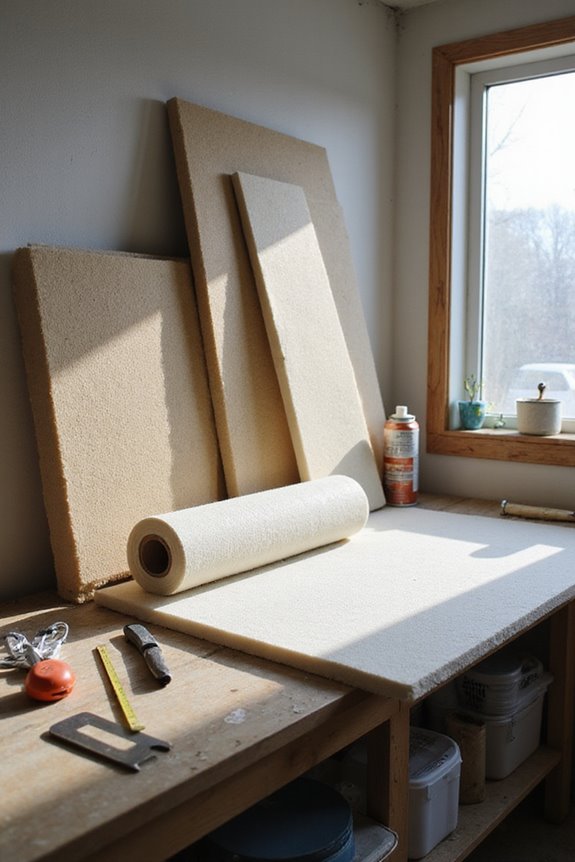
DIY Soundproofing and Treatment Techniques
Creating a soundproof home studio doesn’t have to break the bank! Let’s explore some DIY soundproofing and acoustic treatments that help us achieve the perfect space.
Wall Soundproofing: We can build double walls with an air gap and fill them with insulation like mineral wool. Adding drywall layers increases wall mass—essential for blocking sound.
Door Techniques: Replace hollow-core doors with heavy solid-core ones. Let’s add door sweeps and soundproofing seals for airtight closures.
Window Treatments: Thick curtains or removable acoustic panels can make a significant difference. Remember, sealing frames with acoustical putty reduces noise leaks.
Recommended Products

MULTIPLE CONFIGURATIONS: Use these Hush Panel Cubicle Kits as the building block of your new office design. Whether you need an individual workstation, small meeting space, or an entire cubicle grid, these partition walls are perfect for your space.
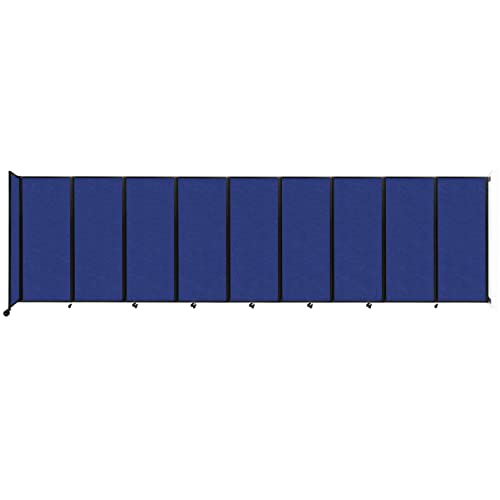
WALL-MOUNTED PARTITION: This Wall-Mountable version of the Room Divider 360 Partition is perfect to create space for numerous functions. It forms workplace areas in offices, or any situation that would require consistent use of the Room Divider 360.

12 Piece Kit contains 8 wall panels and 4 ceiling panels, each panel is sized 24" x 48" x 2"
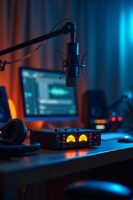
Essential Equipment for Budget-Friendly Setup
With the soundproofing and acoustic treatments in place, we can now turn our attention to equipping our studios without emptying our wallets! 🛠 Finding the right gear is key to producing quality recordings, and luckily, you can build a fully functional setup on a budget.
Computer & DAW: Invest in a capable laptop or desktop with a strong CPU and RAM. Don’t forget an external hard drive and cloud storage for backups.
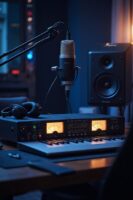
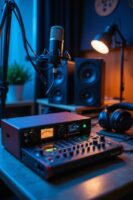
Audio Interface: The Focusrite Scarlett 2i2 offers great reliability at around $349, ensuring clean recordings. For an even more budget-friendly option, consider interfaces like the BOMGE USB Audio Interface SOLO for high-quality 32Bit/192kHz recordings.
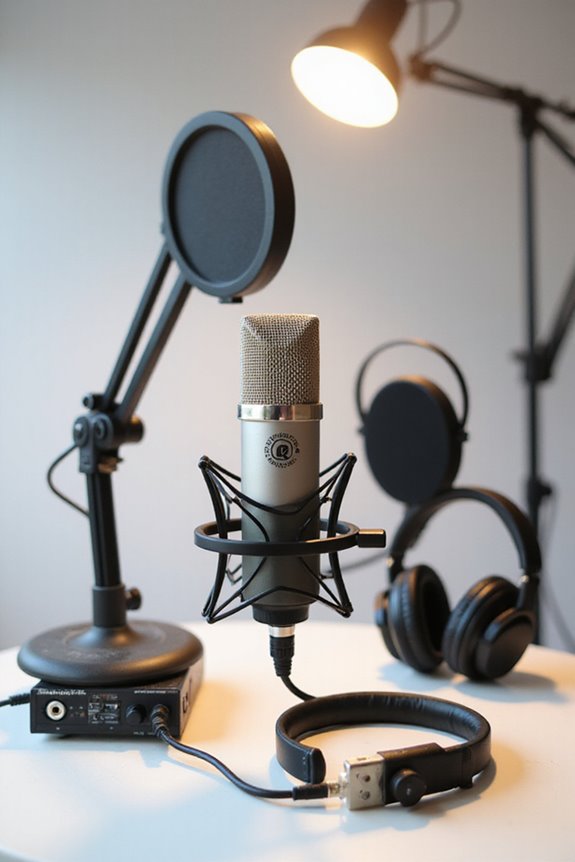
Microphones: Check out the Røde NT1 for vocals or a Shure SM57 for versatility.
Essential Accessories: Grab mic stands, XLR cables, and some affordable plugins to maximize your creativity! You’ll be ready in no time!
Recommended Products

Perfect for when you’re on a budget and looking for your family’s first piano, the affordable RP107 delivers authentic tone and playability thanks to the acclaimed sound engine and keyboard action found in higher-end Roland pianos.

The 88-note, GHS weighted action is heavier in the low keys and lighter in the high keys, just like an acoustic piano

The information below is per-pack only
Creating an Efficient Workflow in Your Studio
While diving into our recording projects, we’ve gotta guarantee our workflow is as smooth as a well-polished track! To achieve workflow optimization, we should start with clear goals. Break down projects into smaller steps, keeping our focus sharp.
Now, as for time management, let’s organize our studio! Properly arranged cables avoid confusion, and a tidy space is an inspiring one. Creating DAW templates with pre-loaded instruments saves precious setup time.
Don’t forget to establish personalized routines; let’s work when our energy’s high. We can save often and utilize solid-state drives for backups. By aligning our workflow with our artistic vision, we maintain productivity, tackle distractions, and capture those spontaneous ideas quicker than a lightning bolt! ⚡ Additionally, investing in high-quality preamps can significantly enhance your audio quality, making your recordings sound more professional and polished.
Strategic Buying Tips for Sound Equipment
Finding the right sound equipment can feel like searching for a needle in a haystack, but we’re here to streamline that process! First, let’s talk about budget microphones. Dynamic options like the Sennheiser e835 are perfect for noisy spaces, while condenser mics shine in quiet areas—think of your recording environment!
When it comes to audio interfaces, choose one with multiple input/output options. Brands like Focusrite Scarlett offer great quality without breaking the bank! Regularly assess what cables you’ll need; 10-foot ones are a solid choice to keep things flexible. Finally, don’t forget about stands; lightweight options work best and fit your budget. Remember to look for interfaces that support studio-quality recording for the best sound experience! Happy hunting for that perfect sound!
Recommended Products

2 x C414 XLS Sonically Matched Pair - Engineered for highest linearity and neutral sound for beautifully detailed recording of vocals and any acoustic instrument

【Multi-Camera Solution】 Integrate up to four video conferencing cameras at once, enabling image and audio capture throughout a wider area. The NexiGo Meeting Studio app instantly detects all participants in the meeting room, making it easy to share the spotlight. Switch freely between multiple conference modes to find the best view of your conference room. Perfect for long-table meeting rooms, U-shaped meeting rooms, and lecture halls.

20-Channel mixer with USB and SPX digital effects
Resources and Community Support for Home Studios
Creating a home studio is just the beginning! We’ve got a wealth of resources and community support to help us thrive. Join online communities like HOME for Music, where we can connect with fellow creators and access workshops, mentoring, and feedback sessions. Membership starts at just $99 per quarter—much cheaper than traditional classes!
We can also seek peer support through forums and social media groups, where troubleshooting and advice flow freely. Plus, consultations with experienced producers cost around $25, simplifying our setup woes. Institutions like Berklee College of Music offer insights on studio design and functionality. Let’s leverage these opportunities together, fueling our creativity while building a vibrant home studio that inspires our best work! 🎶
Frequently Asked Questions
How Can I Find Used Equipment for My Home Studio?
How do we uncover the best used gear for our home studio? We can explore online marketplaces, local sales, classified ads, secondhand shops, and even equipment swaps or thrift finds to discover amazing audio treasures together.
What Are Common Mistakes When Setting up a Budget Studio?
When setting up a budget studio, we often overlook layout planning and proper acoustic treatment. It’s essential to choose the right budget equipment, maintain organization, and guarantee noise control to enhance our creative experience together.
Can I Record a Podcast in My Home Studio?
Absolutely, we can record a podcast in our home studio! By using essential podcast equipment and reliable recording techniques, we’ll create engaging content that resonates with listeners, all while enjoying the process together.
How Do I Assess Room Suitability for Recording Purposes?
When we think of recording spaces, it’s like creating a cozy nest. Let’s evaluate room acoustics and apply soundproofing techniques together, ensuring our creative sanctuary not only inspires but also sounds amazing.
What Online Communities Are Best for Home Studio Advice?
When searching for home studio forums, we’ve found vibrant communities like Gearspace and Reddit’s r/HomeRecording. They offer valuable recording tips, help us thrive, and create a sense of belonging among fellow music enthusiasts.