Connecting studio monitors to your computer is easier than you might think! First, let’s choose the right gear. You’ll need powered or active monitors, and balanced cables like XLR or TRS to reduce noise. Next, connect the cables from your audio interface to the monitor inputs. Don’t forget to place your monitors at ear height! Once everything’s plugged in, power on your equipment, gradually adjust volume levels, and get ready to enjoy pristine sound! Curious about optimizing your setup further? 😊
Key Takeaways
- Use balanced cables (XLR or TRS ¼-inch) for optimal audio quality and to minimize interference between studio monitors and your computer.
- Connect powered monitors directly to the audio interface; passive monitors require a compatible amplifier to connect properly.
- Ensure your audio interface connectors are compatible with the inputs on your studio monitors for a seamless connection.
- Maintain organized and undamaged cables to prevent sound issues and tangling during setup.
- Set the audio interface output volume to minimum before connecting, then gradually increase to prevent distortion.
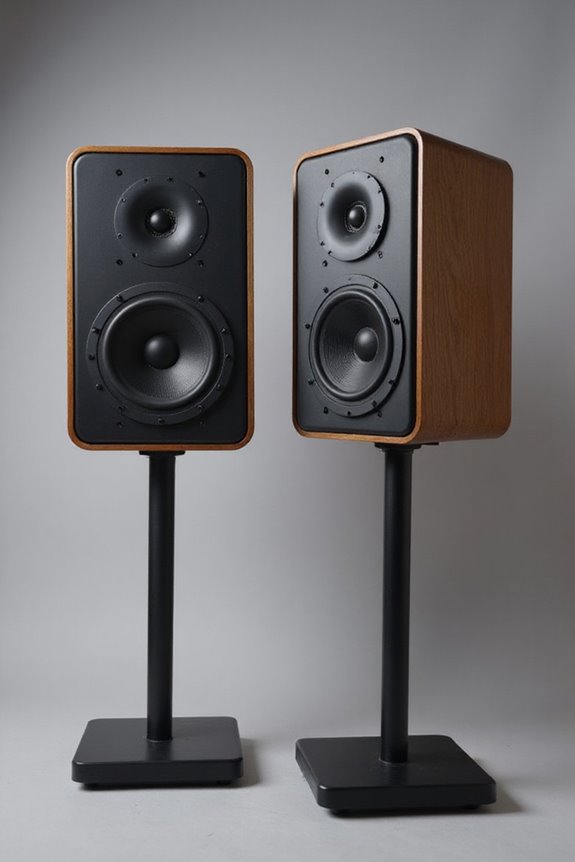
Understanding Studio Monitor Types
You may be interested
When diving into the world of studio monitors, it’s essential to understand the different types available. 🕺 Whether you’re setting up a home studio or a professional workspace, knowing your options is half the battle!
We can break monitor types into a few key categories. Powered monitors come with built-in amplifiers, reducing setup complexity. Active monitors take it up a notch, with dedicated amplifiers for each driver, delivering an optimized frequency response. Plus, they often include cool features like digital signal processing(DSP settings). For those who prefer classic gear, passive monitors need separate amplifiers, but they’re a bit rare these days. So, let’s figure out what fits your space and needs, and get ready to rock!
Essential Equipment for Connection
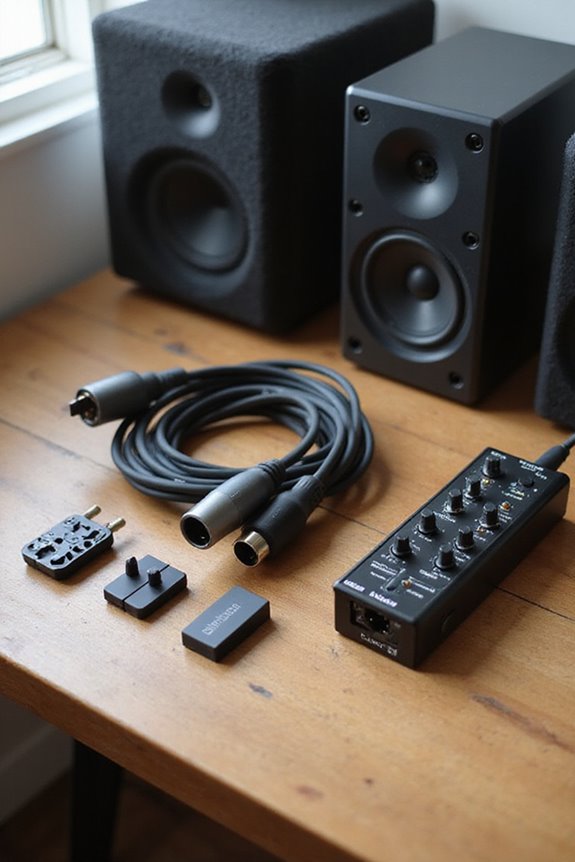
Connecting your studio monitors to your computer requires a bit of essential gear to guarantee everything sounds just right! 🎧 First up, we need to take into account the type of monitors we’re using—powered or passive—and what that means for our setup.
For passive monitors, amplifier selection is vital; we need one that matches our monitors’ power specifications for best sound. If we’re using powered monitors, all we need are the right power cables—usually IEC connectors—to connect to an outlet.
Lastly, don’t forget about surge protectors or power conditioners—they’re our first line of defense against electrical damage! With this equipment lined up, we’re well on our way to setting up a fantastic audio system together! Additionally, considering high-resolution capabilities can significantly enhance the overall sound quality of your setup.
Recommended Products

ADJUSTABLE DEPTH: 4- Post 25U 19" server rack enclosure with 4 vertical rails and adjustable mounting depth 5.7" to 33.0" (14,4cm to 83,8cm); IT rack is compatible with various servers / switches / data / video / AV and other IT networking equipment

EXCEPTIONAL SOUND PERFORMANCE - Savor the ultimate listening experience by pairing a fully loaded high fidelity turntable with endlessly versatile, room-filling 120-watt powered bookshelf speakers

HI-RES AUDIO CERTIFIED WITH HIGH-END COMPONENTS FOR STUDIO-QUALITY SOUND – High resolution certified audio produced by loaded ribbon tweeters for crisp, natural-sounding highs.
Choosing the Right Cables
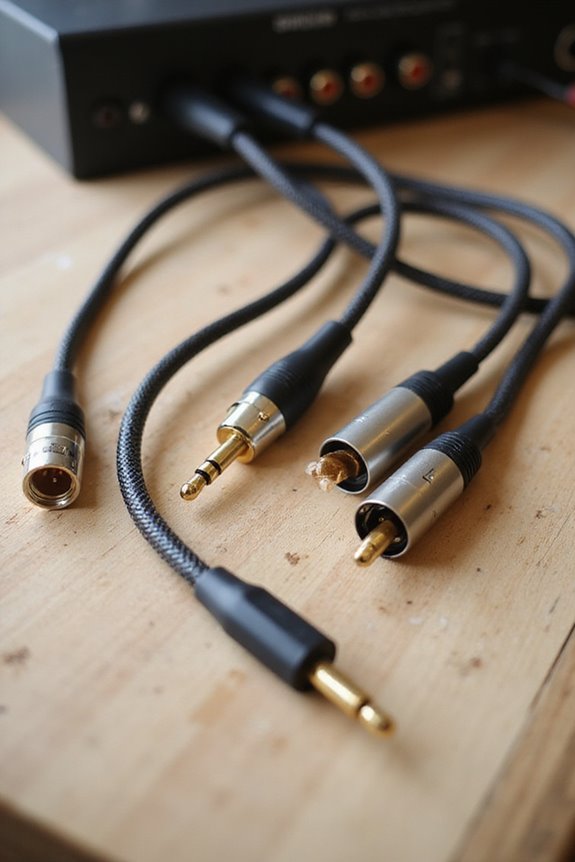
We’ve got a few cable types to evaluate. Balanced cables like XLR and TRS ¼-inch help reduce noise, making them a smart choice—especially for longer runs! Unbalanced cables, like RCA, are fine for short distances, but they can introduce unwanted noise.
Don’t forget about connector compatibility! Make sure the connectors on your audio interface match those on your monitors. If they don’t, you might need an adapter.
Taking the time to choose quality cables will pay off in cleaner sound and durability, ensuring we can focus on creating great music! 🎶 Additionally, using balanced cables can significantly enhance real-time monitoring during recordings by minimizing interference.
Recommended Products

Bundle Includes: 2 x Adam Audio A7V Powered Two-Way Studio Monitor, 2 x FocusProAudio 25-Feet XLR Male to Female Microphone Cable, 2 x PX-TMXM2 1/4-Inch TRS to XLR Male to Male Balanced Cable (10-Feet), and Studio Monitor Isolation Pads for 8-Inch Speakers (Pair)

Bundle Includes: Adam Audio T10S 10-Inch Powered Studio Subwoofer, Adam Audio T7V 7-Inch Powered Studio Monitor (Pair), 2 x 25Ft XLR Cable Male to XLR Female Microphone Cable, and 2 x 1/4-Inch TRS to XLR Male to Male Balanced Cable (10-Feet)

Next-gen 28 x 32 USB3 audio interface — Builds on 22 years of proven success as an industry-leading audio interface brand.
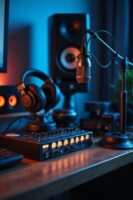
Setting Up the Audio Interface
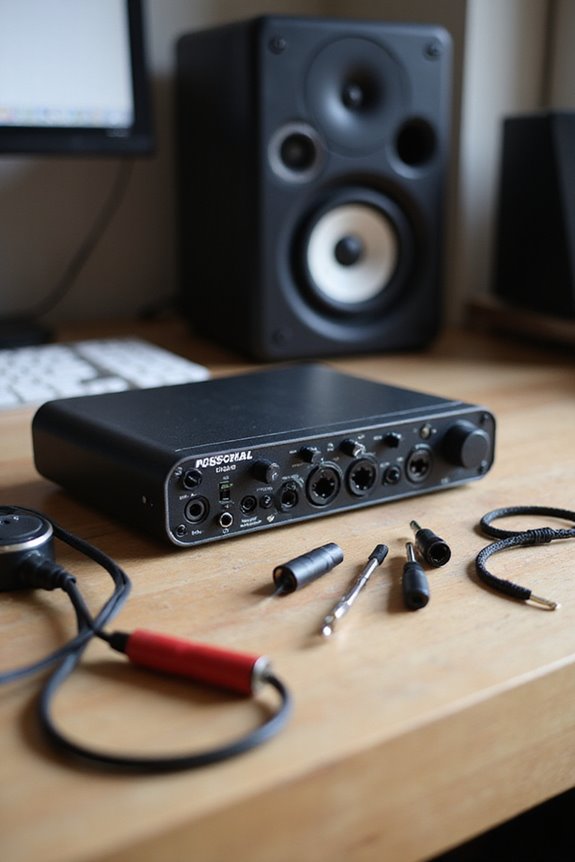
Setting up your audio interface is like laying the foundation for your sound studio; it’s vital for achieving the best results! First, let’s connect the audio interface to our computer via USB or Thunderbolt. Once that’s done, we’ll guarantee the interface drivers are installed and up-to-date for recognition. Next, we open our Digital Audio Workstation (DAW) and select our interface in the audio preferences. It’s essential to confirm the interface is powered on, and then we can test the audio output. If everything checks out, we’ll be ready to connect our studio monitors! Remember, a smooth connection is key to our sonic success, so let’s make certain everything’s in tip-top shape! 🎶 Additionally, having high-resolution capabilities ensures superior sound quality throughout your setup.
Recommended Products
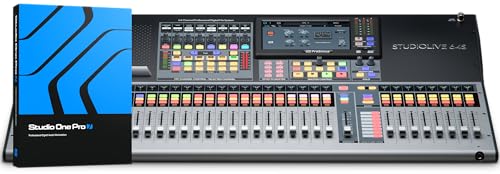
The most powerful and flexible digital console available for installed sound, touring, and recording with quad-core FLEX DSP Engine powering 526 simultaneous processors

For Hybrid Production in Studio & Stage, 4 Console-Grade SuperAnalogue Mic Pres

For Recording Studios and Touring
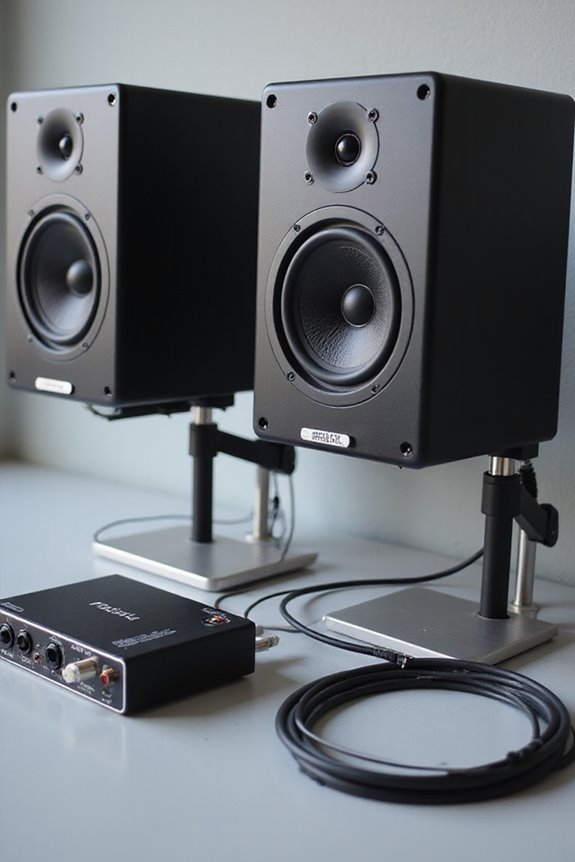
Connecting Your Studio Monitors
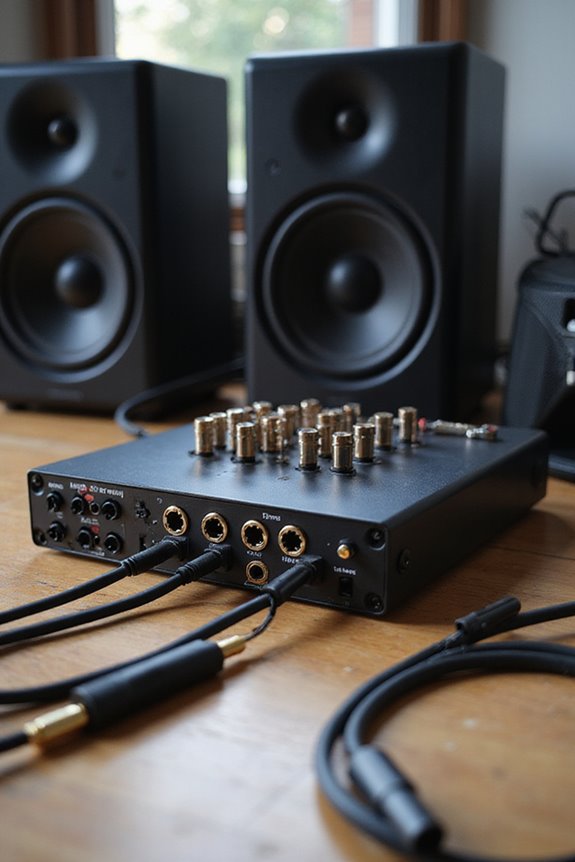
Before diving into the exciting world of sound, let’s make sure we’ve got our studio monitors connected properly! 🎧 To achieve that pristine audio quality we’re after, we’ll typically use balanced cables like TRS or XLR to minimize pesky noise or interference.
First, let’s check that all volume controls are at zero. Next, connect the audio output from our interface or computer to the monitors using those balanced cables. Remember to plug in the power cables! After switching them on, we can adjust the volume knobs for balanced sound.
To confirm our setup works perfectly, we might play a track for testing. If we encounter any distortion, we’ll need to check our cables—monitor calibration and cable maintenance are crucial for peak performance! Additionally, understanding power output requirements can help ensure your monitors are driven effectively for optimal audio fidelity.
Recommended Products

Full frame sensor - 47.3-Megapixel full-frame MOS sensor that provides a wide dynamic Range and excellent performance at high sensitivity (is 25600 Max sensitivity)

Fully integrated audio production studio for podcasters, streamers, musicians and content creators

BLACK ARMS ON A WHITE CONSOLE — CAMERA-CONTRAST FOUR-HOST PODCAST STUDIO IN ONE BOX: A four-host studio needs more than the console — four broadcast mics, four arms that frame each host on camera, four headphone pairs, and cables to wire it. This bundle pairs the RODECaster Pro II (White) with 4 PodMic mics, 4 PSA1+ Black arms, 4 Cans50 headphones, 4 ten-foot XLR cables, and a 32GB microSDHC card. Podcast producers, panel hosts, and roundtable engineers — plug in and record today.
Proper Monitor Placement
When it comes to proper monitor placement, getting it right can be the difference between good sound and great sound! 🎶 You want your studio monitors to deliver accurate audio, and that begins with their positioning. Start by placing your monitors about 1.2 to 1.4 meters high, aligning with your ears for that sweet spot. Maintain a 60° angle toward your listening position, creating an equilateral triangle between you and the speakers. Don’t forget acoustical symmetry! Aim for equal distance from walls—stick to a meter or more—to avoid unwanted reflections. Experiment with your listening position in the front zone, finding that balance between peaks and nulls. Remember, good placement means a better mix! Also, consider acoustic tuning features to adapt the monitors to your environment for enhanced performance. Let’s get those monitors singing!
Powering On Your Equipment
Powering on your studio monitors is like flipping the switch on a live performance—exciting and essential! 🎤 To make certain we start things off on the right foot, the order of operations matters. First, let’s verify all audio cables and power cords are securely connected. Then, we need to follow the power sequence. Always power on the audio source—like our computer or mixer—before the monitors. This helps prevent unwanted noise and protects our equipment from potential damage. When we flip the switch on our monitors, keep an eye on the power indicator LEDs to confirm they’re ready to go! Finally, turn down the volume before powering up; we want a warm welcome, not a loud surprise!
Managing Volume Levels
Once we’ve powered up our gear, it’s time to turn our attention to volume levels. We want to listen at low-to-moderate volumes to avoid ear fatigue during long sessions—it’ll save our ears in the long run! 🎧 Let’s make some volume adjustments to maintain sound balance. A good practice is to switch volumes frequently. This reveals details in our mix across various listening levels and guarantees nothing sounds piercing. Monitor controllers can help with precise adjustments—much better than relying on software. Plus, remember to use isolation pads for the best positioning! Regular breaks are essential too; they preserve our hearing sensitivity. It’s all about creating a comfortable listening experience that keeps our mixes sounding their best!
Alternative Connection Methods
While it may seem complex at first, connecting studio monitors to your computer can actually be a straightforward process when you know your options! Let’s explore some RCA alternatives and the TRS benefits that make these connections worthwhile.
- XLR Connections: Perfect for pros! They offer a balanced audio link, reducing noise and are great for longer runs.
- TRS Connections: Similar to XLR, these balanced cables reduce hum. They come in 1/4-inch sizes and fit easily into monitors and interfaces.
- USB Audio Interfaces: These magical devices connect directly to your computer, providing pristine sound and multiple outputs!
- 3.5mm Mini-Jack: Super simple for casual setups! Just remember it’s prone to noise on longer cables.
Recommended Products
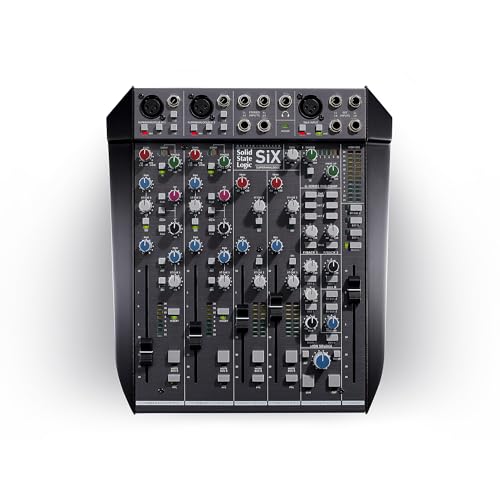
Benchmark SuperAnalogue audio performance

[Daylight Viewable] Backed by 1000nits of brightness, WPC215 isn't afraid to get a little sun. WPC215 is 21.5" monitor has 1920x1080 resolustion, 16:9 aspect ratio, 1000:1 contrast ratio, 178° viewing angle
NOTE: This is the latest version of this model, the LCD-XC effective March, 2021, and replaces he previous model, ASIN: B08J2SCXBM
Tips for Optimal Sound Quality
When it comes to achieving ideal sound quality in your studio, we need to contemplate several key factors! 🎚 Setting the right volume levels is essential—always start with the audio interface output volume and monitor volume at their minimum to avoid any unwanted damage or distortion. Next, let’s talk about monitor placement. Position them in an equilateral triangle with us at the listening spot! Symmetrical placement and appropriate heights help too. Oh, and don’t forget room treatments—absorbers and diffusers go a long way in improving clarity! 🙌 Using balanced cables and proper connections prevents noise. Finally, let’s throw in some soundproofing techniques to keep those pesky reflections at bay! You’re on your way to amazing sound!
Frequently Asked Questions
Can I Use Old Speakers Instead of Studio Monitors?
We can use old speakers, but they have limitations. Their advantages include cost and familiar sounds, while studio monitor differences mean they offer accuracy essential for professional work. For serious projects, studio monitors are the better choice.
What if My Studio Monitors Make Buzzing Noises?
When our studio monitors buzz, it often points to ground loops or interference issues. We can tackle this together by checking cables, isolating devices, and ensuring a clean power supply for our creative oasis.
How Do I Know if My Cables Are Faulty?
When we’re troubleshooting cables, we can start with cable testing. If sound quality isn’t what we expect, let’s swap out cables and listen for any crackling or buzzing that might indicate faults we need to address.
Can I Connect Multiple Monitors at Once?
Imagine a bustling café where friends enjoy diverse conversations. Similarly, a multi-monitor setup lets us experience various audio qualities. Yes, we can connect multiple monitors at once to expand our sound universe and enhance creativity together.
What Should I Do if My Audio Interface Isn’t Recognized?
If our audio interface isn’t recognized, we should start with audio interface troubleshooting. Let’s check driver installation issues, ensuring they’re updated, and verify connections. Sometimes, a simple restart can resolve these frustrating problems together!