To reduce noise in home recordings, we should start by choosing the right space! Look for a medium-sized room with soft furnishings to minimize echo. Next, we can implement acoustic treatment, like bass traps and panels, to absorb sound effectively. Choosing a good microphone is key—dynamic mics can work wonders in untreated spaces! Finally, let’s keep our equipment organized and check connections regularly, ensuring we capture the best sound possible. Stick around, and we can explore more great tips!
Key Takeaways
- Choose a medium-sized room with soft furnishings for better sound isolation and minimal reverberation.
- Utilize dynamic microphones in untreated rooms to effectively reject background noise.
- Implement acoustic treatments, like bass traps and panels, to absorb and diffuse sound.
- Position microphones closer to the sound source and use directional mics to minimize noise capture.
- Regularly check and secure all equipment connections to prevent hum and interference during recordings.
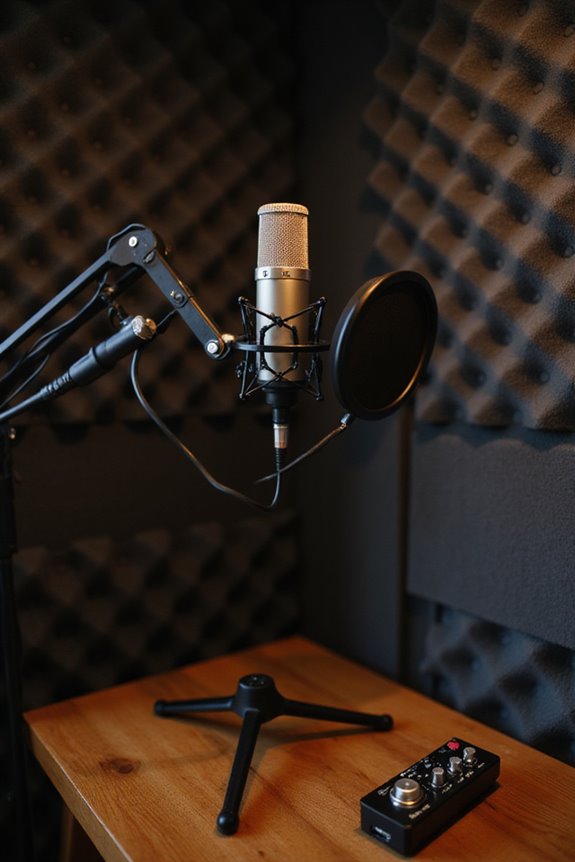
Selecting the Right Recording Environment
You may be interested


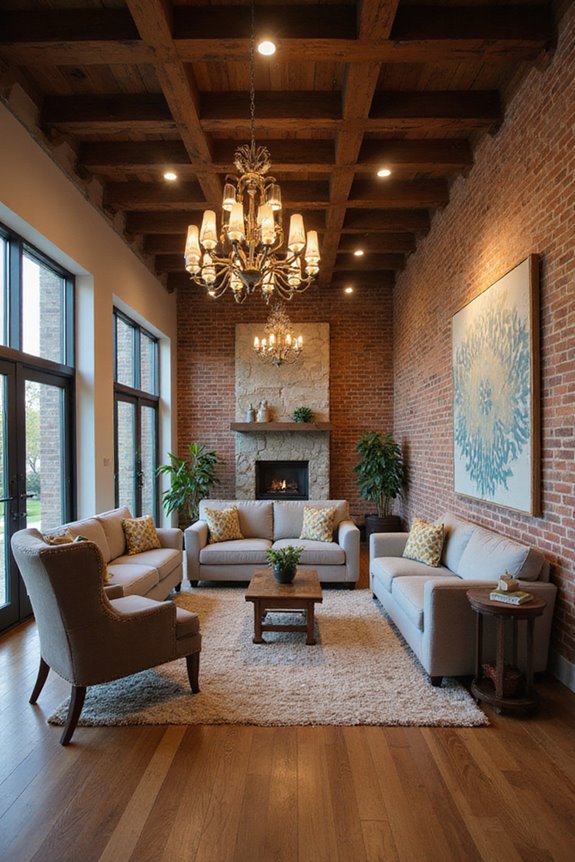
When we think about creating the perfect recording environment, we can’t underestimate how crucial room selection really is. 🎤 After all, where you record can massively impact sound quality. Choosing a space with good room isolation is essential; ideally, we should select a room away from noisy living areas. Consider spare bedrooms or basements, which can offer the peace we need.
Let’s check environmental factors, too! Clapping our hands in the room helps us gauge reverberation—look for that lovely “dry” sound. Plus, sealing windows helps limit unwanted noise. Additionally, rooms with minimal reflective surfaces contribute to better sound quality and reduce echo.
Finally, aim for rooms with minimal reflective surfaces, avoiding those echo-friendly hard floors. With the right space, we set ourselves up for recording magic!
Implementing Acoustic Treatment Techniques
Successfully achieving great sound in your recordings can often rely on the acoustic treatment techniques you implement! Let’s explore some effective strategies to enhance your space.
Bass Traps
Installing bass traps in corners where walls meet can tackle those pesky low frequencies. Using thick soundproofing materials like mineral wool gives us that essential absorption!
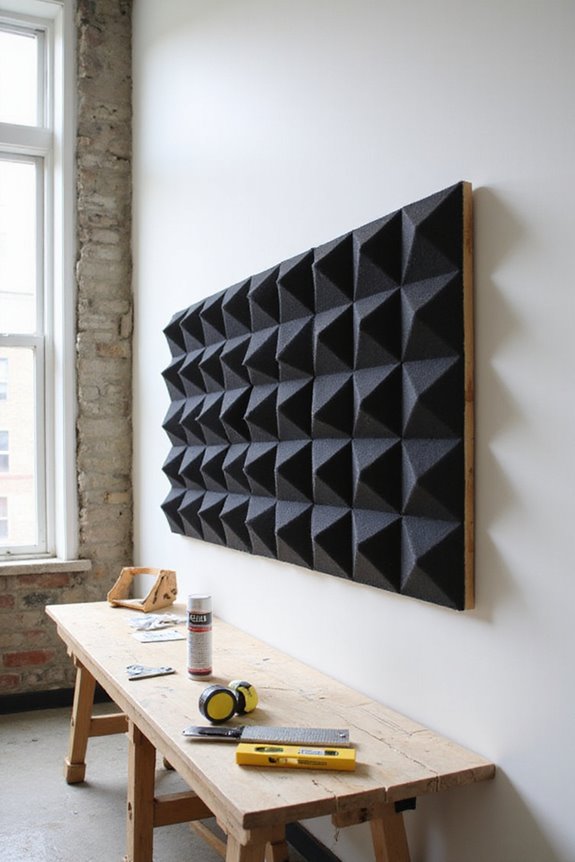
Acoustic Panels
For mid and high frequencies, foam or fiberglass panels at reflection points will minimize echo. Placing them smartly can improve clarity while ensuring the room doesn’t feel “dead.”
Diffusers
Don’t forget diffusers! They keep our room lively, scattering sound waves without muffle. Additionally, investing in quality studio monitor subwoofers can significantly enhance the low-end response in your recordings.
Choosing the Best Microphone for Your Setup
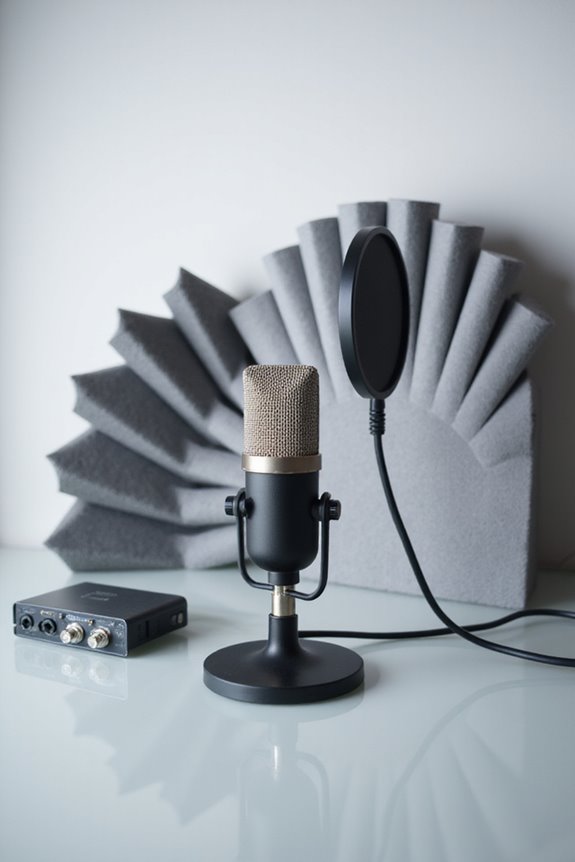
Have you ever wondered which microphone would best suit your recording needs? Choosing the right mic is essential! 🎤 When it comes to microphone specifications, we often face the dynamic vs. condenser debate. Dynamic mics reject background noise, making them ideal for untreated rooms. In contrast, condenser mics capture intricate details but can pick up ambient noise, so they need a quieter space.
Consider the polar patterns: cardioid mics focus on sound from the front, while omnidirectional ones capture everything around. For flexibility, multi-pattern mics, like the AKG C414 XLII, let us adapt to different environments. Remember, a mic with lower self-noise could mean cleaner recordings. So, let’s find the perfect mic and make magic happen together! 🎶 Additionally, look for microphones with a frequency response range of 20Hz to 20kHz to capture a wide spectrum of sound effectively.
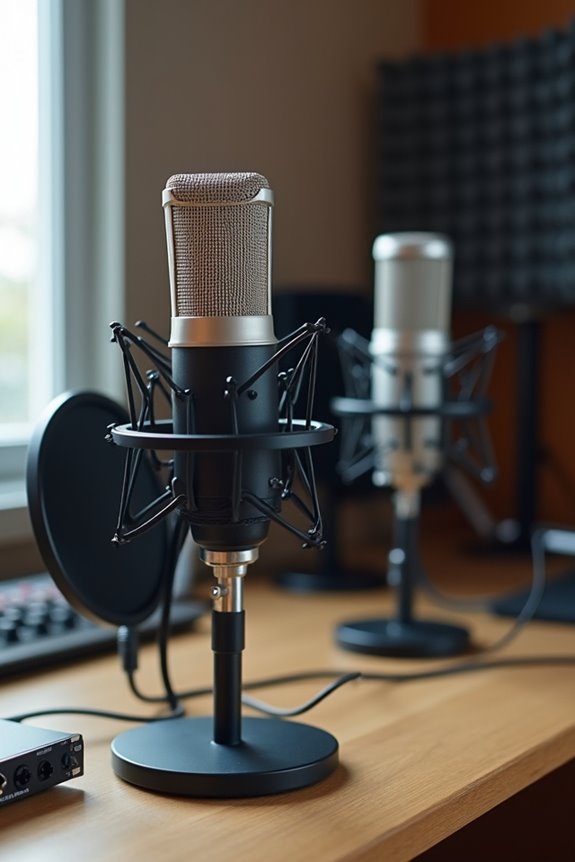
Proper Microphone Positioning and Setup
To capture that perfect sound, we need to get our microphone positioned just right! 🎤 Proper microphone positioning and setup can greatly enhance the quality of your recordings, whether we’re belting out vocals or rocking out on guitar.
Microphone Height
We should place the mic 6-12 inches from our mouths to balance clarity and room noise, aligning the diaphragm with our mouth or nose height.
Mic Angle
Tilting the mic slightly upwards helps maintain a clear capture of our vocals. For instruments, angling can considerably impact the tone. Additionally, choosing a microphone with cardioid polar patterns can help minimize background noise during recordings.
Let’s remember to experiment! Small adjustments in height and angle often create a major difference in sound quality. Happy recording, everyone!
Capturing and Reducing Background Noise

When you’re ready to record, capturing and reducing background noise can feel like a challenging task, but it’s essential for getting that pristine sound we all desire! 🏠✨ By carefully selecting our recording environment, we can greatly minimize unwanted distractions. Choosing a medium-sized room, filled with soft furnishings like carpets and curtains, helps with sound isolation. Remember to close windows and doors, and turn off noisy appliances to cut down on ambient noise.
Strategically positioning ourselves closer to our sound source while using directional microphones can also help focus on what matters. And hey, don’t forget to record a few seconds of room tone! It’s like a secret ingredient for seamless audio edits later. Additionally, using a low latency performance audio interface can significantly enhance your recording quality by allowing real-time monitoring. Let’s make some magic!
Utilizing Noise Reduction Software and Tools
Now that we’ve set the stage for capturing stellar audio, let’s explore how noise reduction software and tools can polish our recordings to perfection! 🎧 Whether you’re wrestling with that pesky hum from a fridge or the distant roar of traffic, AI-driven noise reduction tools can be your best friend.
These tools use AI algorithms to identify noise profiles and remove unwanted sounds quickly, enhancing audio clarity. For instance, applications like CrumplePop SoundApp and plugins like Supertone Clear guarantee seamless plugin integration. They also come with user-friendly interfaces for workflow optimization. While subscription pricing varies, often there are free trials available. With options for both desktop and online use, we can find software that fits our unique needs, making certain our recordings shine!
Additional Tips for Practical Noise Reduction
While it is understood that capturing great audio starts with the right environment, it doesn’t stop there! Let’s explore some additional tips for practical noise reduction.
First, consider your room layout: arrange furniture and soft furnishings to absorb sound. Closets filled with soft materials can work wonders! 🛋 Next, don’t forget soundproofing materials—acoustic panels and thick curtains help dampen reflections.
Also, close those pesky windows and unplug noise-making appliances. Leave no hum unturned!
Finally, keep cables organized and away from power strips to avoid interference. Additionally, investing in an audio interface with built-in gates can further enhance your recordings by eliminating unwanted noise. We’ve got this! With these steps, you’ll create a solid foundation for your recording space, leading to cleaner and clearer audio. So let’s get started on your sound journey together!
Budget-Friendly Sound Absorption Solutions
We’ve laid down some solid groundwork for creating a noise-free recording environment, but let’s talk about some budget-friendly sound absorption solutions that can really elevate your audio game! 🎧 Achieving a quieter space doesn’t have to break the bank.
Soundproof Blankets
These versatile wonders can be hung on walls or doors to temporarily block sound while being reusable.
Acoustic Foam
Inexpensive acoustic foam panels are superb for reducing echoes and improving overall sound quality.
DIY Panels
Building your own panels using rock wool or fiberglass is cost-effective and gives you a custom touch!
Arranging Your Space for Optimal Acoustics
When it comes to crafting the perfect acoustic space, arranging your room thoughtfully can make a world of difference! 🎶 By focusing on key elements, like early reflection points and bass traps, we can minimize unwanted noise and enhance sound quality in our recordings.
Start by identifying those pesky early reflections. Use a mirror to find their spots and hang absorption panels there! For corners, let’s install bass traps to tackle low frequencies and reduce boominess.
Don’t forget acoustic symmetry—this helps maintain a balanced stereo image. And, let’s throw in some sound diffusion on the rear wall to avoid a stuffy sound. With strategic placement and a little love, our recordings will shine with clarity and vibe!
Testing and Adjusting Your Recording Setup
To guarantee our recordings sound their best, it’s essential to test and adjust our recording setup effectively! 🎤 By experimenting with microphone placement and gear connections, we can strike the perfect balance between clarity and ambient noise. Let’s test different distances and angles for our microphones, reducing reflections while capturing rich sound. If we incorporate pop filters and reflection shields, we’ll minimize unwanted noise.
Next, let’s verify our recording equipment; checking cables for secure connections reduces hum. We should verify everything’s powered from the same circuit to diminish interference too. By regularly checking gain staging and monitoring recordings through headphones, we can catch background noise before it becomes a headache. Together, let’s embrace these tips and enjoy the beauty of quality sound!
Frequently Asked Questions
What Are Common Mistakes to Avoid During Home Recording?
When we record at home, let’s avoid common mistakes like poor microphone placement and neglecting soundproofing techniques. By addressing these issues, we can collectively enhance our recordings and achieve clearer, more professional-quality results together.
How Does Room Shape Affect Sound Quality?
When we think about how room shape affects sound quality, we realize that room dimensions and reflective surfaces play essential roles. Together, we can create an environment that fosters clarity and balance in our recordings.
Can I Use Outdoor Recordings in My Projects?
As they say, “variety is the spice of life.” We can absolutely use outdoor soundscapes in our projects; their unique ambiance offers rich layers for integration, adding depth and character to our creative endeavors together.
What Is the Impact of Furniture on Acoustics?
When we consider the impact of furniture on acoustics, it’s all about thoughtful furniture arrangement. Using sound absorption materials helps create a more inviting environment, enhancing clarity and warmth in our shared spaces.
How Can I Tell if My Recordings Are Improving?
When we explore our recording techniques, a sound comparison reveals our progress. We’ll notice clearer tones, reduced noise, and consistent levels, guiding us to feel that sense of belonging in an improved audio experience together.