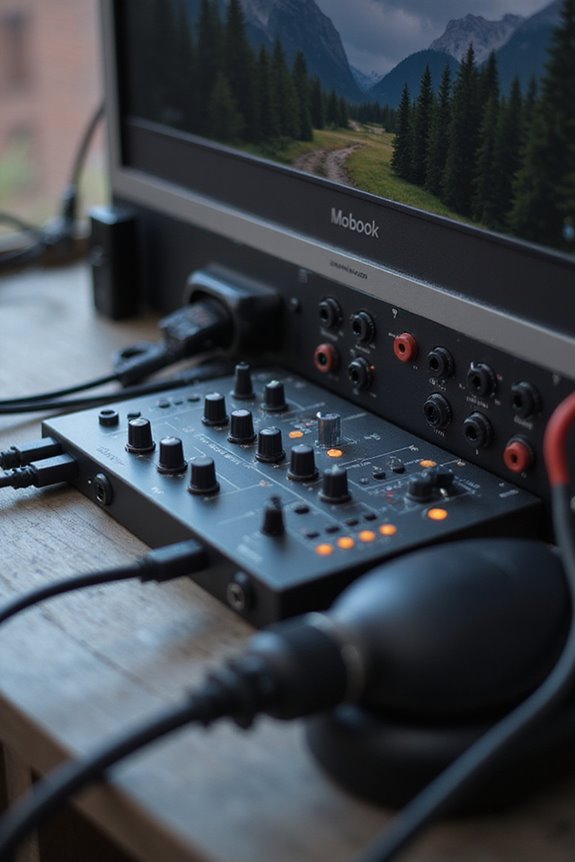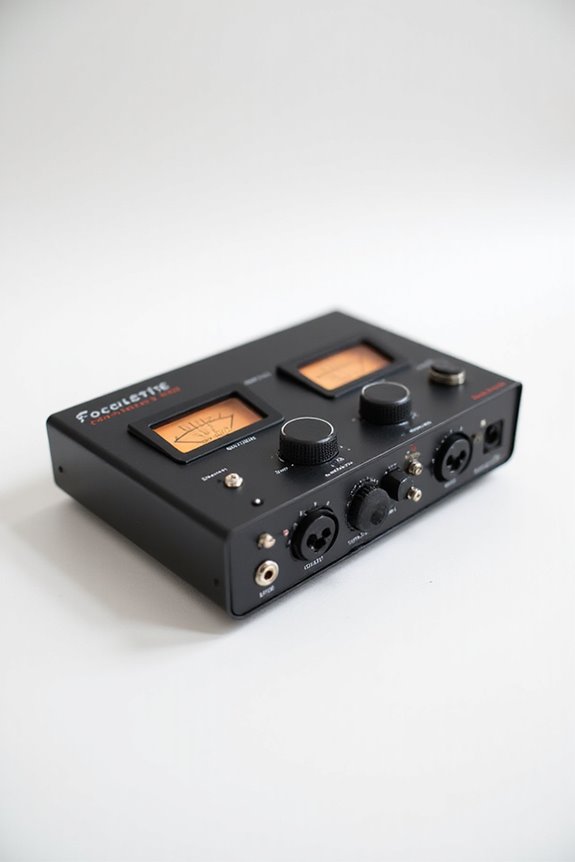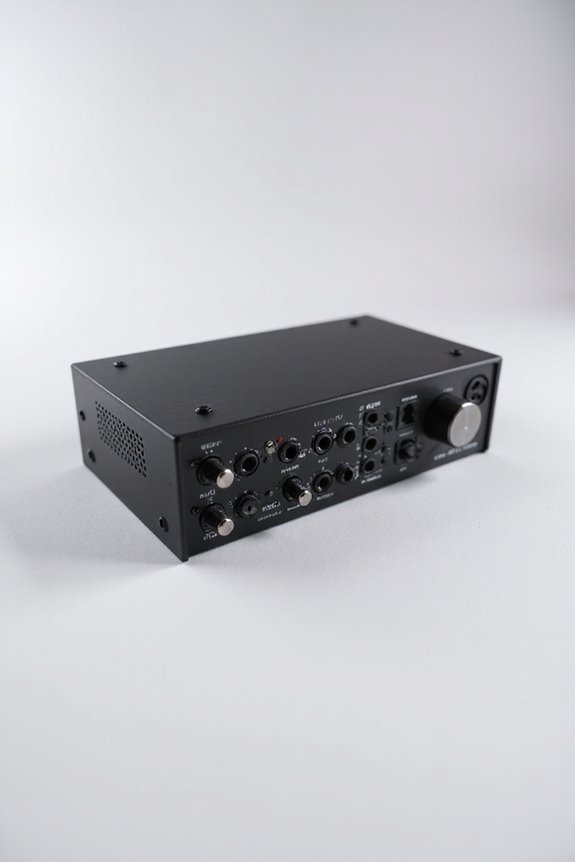


To connect your microphone to an audio interface, we’ll need some quality gear! First, grab a three-pin XLR cable—these guarantee balanced audio with minimal noise. Plug one end into your mic and the other into the mic input on your interface. If it’s a condenser mic, don’t forget to activate the 48V phantom power. Adjust your gain to avoid those pesky red clips! Stick around, and you’ll discover more tips to elevate your recording game! 🎤
Key Takeaways
- Use a three-pin XLR cable to securely connect your microphone to the audio interface for minimized interference and effective audio quality.
- Plug one end of the XLR cable into the microphone and the other end into the mic input of the audio interface.
- Ensure the audio interface provides 48V phantom power if using a condenser microphone and activate it with the “48V” button.
- Adjust the gain on the audio interface to optimize signal strength and avoid distortion in recordings.
- Engage direct monitoring for real-time feedback and connect headphones to the dedicated output for private listening.
Choosing the Right Cable and Connector
You may be interested
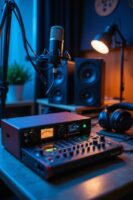

When it comes to connecting a microphone to an audio interface, the right cable and connector can make all the difference! 🎤 To start, we typically rely on three-pin XLR cables, the gold standard in our audio world thanks to their secure fit and effective noise reduction. These cables keep our audio balanced, minimizing interference for a cleaner sound.
Now, while we may encounter cable types like seven-pin or four-pin XLRs, they usually serve specialized purposes. For our standard setups, sticking with that trusty three-pin is best. Let’s not forget, using premium-grade materials like Canare™ cabling guarantees durability and exceptional performance. Additionally, ensuring your interface supports phantom power is crucial for optimal microphone functionality. So, choose wisely, and let’s get our sound right!
Recommended Products

Three distinct tube microphones at the flip of a switch. FORWARD is bold, present and modern, but never harsh. NEUTRAL is smooth and earthy with a natural balancing of sibilant sounds. GENTLE is dark and sultry with a warm vintage feel, ideal for taming bright or abrasive sound sources.

For Recording Studios and Touring

Connecting the Microphone to the Audio Interface

Now that we’ve chosen the right cable and connector, let’s get down to the fun part: connecting your microphone to the audio interface! 🎉 First off, it’s important to guarantee you’re using a microphone with an XLR connector—this is the standard for most quality mics. We’ll start by securing one end of the XLR cable to the mic and the other into the mic input of the combo jack on your audio interface. Remember, microphone types like dynamic or condenser affect interface compatibility, so make sure you’re using the right input. And please, don’t plug into TRS or instrument inputs; they won’t provide the proper preamp gain. With everything plugged in, let’s get ready to make some sound! Additionally, ensure that your audio interface provides 48V phantom power if you are using a condenser microphone, as this is essential for optimal performance.
Recommended Products

DIGIC X PROCESSOR WITH 8K VIDEO: Offers outstanding definition and realism with 16x the resolution of FHD video and an ISO range of 100-51200 (expandable to 102400) for crisp and vibrant photos and movie-theater-quality videos at up to 8K/60P

DuoPre XLR Microphone preamps, including 48V Phantom power for condenser microphones and up to 69dB of gain. Each preamp uses two gain stages to provide a full and accurate sound across the entire gain range with enough power for even the most gain hungry mics.

HIGH-END SOUND QUALITY FOR SERIOUS ENTHUSIASTS – Audiophile level sound stage produced by the finest quality components. Features ribbon horn tweeters and 6.5in woofers that provide crisp, clear, natural sounding highs and powerful room-shaking bass that doesn't distort at higher volumes.
Powering the Microphone (Phantom Power)
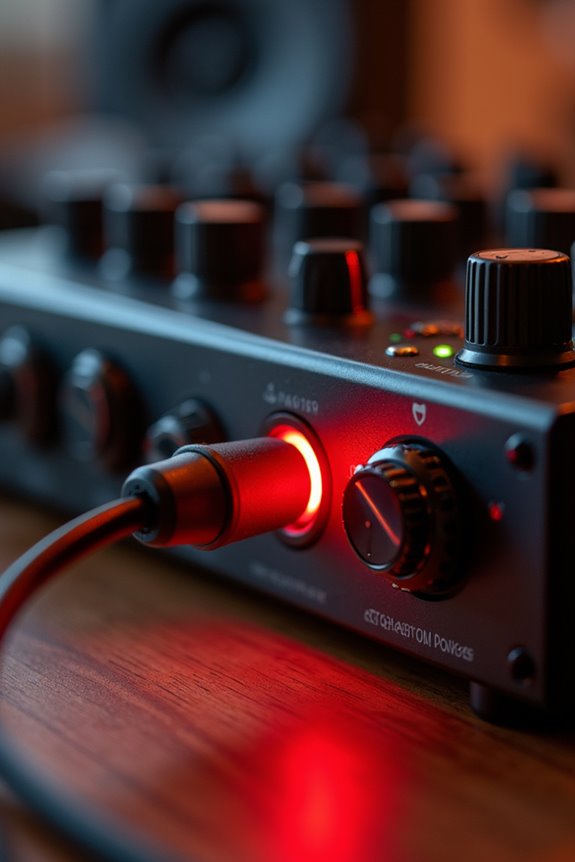
Remember, you’ll find a simple “48V” button on your audio interface to activate this feature. But beware—using phantom power on incompatible mics, like ribbon or some dynamics, can cause damage. So, let’s make sure we’re powering the right microphone types, keeping our gear safe and sound throughout our recording fun! 🎤 Additionally, ensure your interface supports 24-bit/192kHz resolution for optimal sound quality during recording sessions.
Recommended Products

FLAGSHIP SOUND QUALITY: Get the sound of Symphony Mk ii right on your desk with our legendary A/D and D/A conversion that delivers ultra-low distortion and provides a transparent window into the sonic landscape of your mix and recordings.

Next-gen 28 x 32 USB3 audio interface — Builds on 22 years of proven success as an industry-leading audio interface brand.

USB Type-C audio interface with 32-bit / 192 kHz support, Multi-Stream Audio Driver, dual MAIN/SUB USB ports and microSD card slot.
Setting Gain and Input Levels
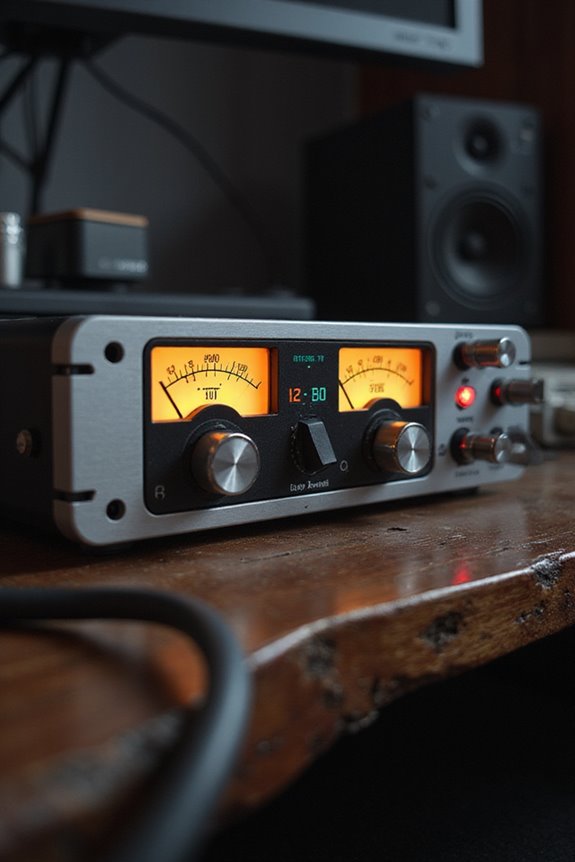
Setting the right gain and input levels is essential for achieving a polished sound in your recordings. First, let’s connect your microphone and grab that gain knob! 🎤 Gain optimization guarantees your signal strength is maximized while minimizing noise. As we increase the gain, keep an eye on the input level meters. We want to see mostly green lights, with occasional yellow but no red clipping—trust us, distortion’s not your friend! If things turn red, just dial back a bit. Remember, the source volume and mic sensitivity play a big role too. By carefully monitoring our signal, we’ll capture every detail without unwanted noise. Additionally, ensure that your audio interface supports low latency performance, as this will enhance your recording experience. So, let’s make those adjustments and get ready to rock!
Recommended Products

Ample input capacity and hands-on control in a compact console that can handle a wide range of applications.

40-input channel, 25-bus digital mixing console for Studio and Live application

Creativity in motion - 7" Motorized high torque aluminum platters with magnetic acrylic discs, Build in Displays for Song info and Waveforms, OLED Pad Mode Displays, advanced FX and Stem Controls
Monitoring Setup
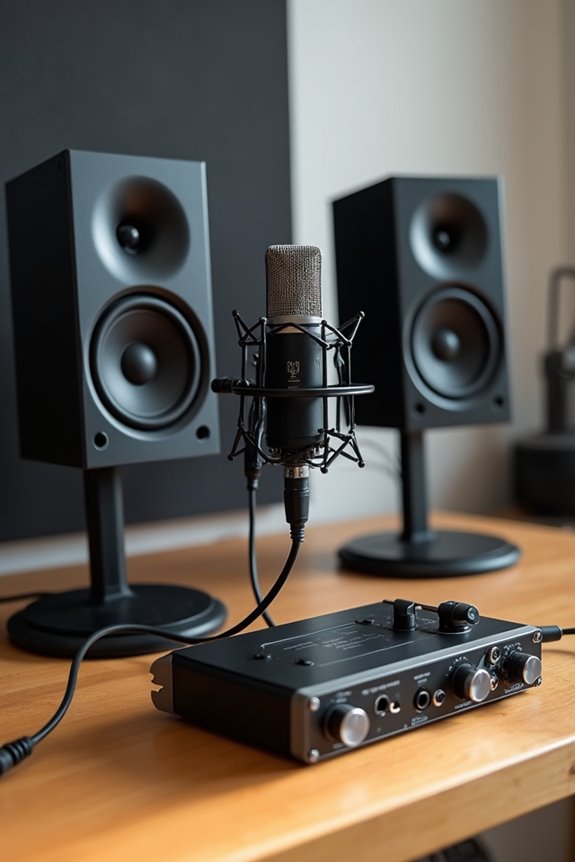
When it comes to monitoring your audio, having a solid setup is essential! 🎧 You’ll want to guarantee that what you hear matches what you’re recording. To achieve that, we can engage the direct monitoring switch on our audio interface. This allows for real-time feedback, giving us an accurate performance without any annoying latency.
For private listening, let’s connect our headphones to the dedicated headphone output, while studio monitors can amplify the sound for everyone. Remember to adjust those levels; we want clarity without blowing out our ears! Also, confirm our cables are proper—XLR for mics and TRS for monitors—to keep signal quality intact. With these monitoring techniques in place, we’ll groove with confidence in our recordings! Additionally, using an audio interface with low latency ensures immediate feedback during your sessions, enhancing your recording experience.
Recommended Products

All-in-One 4K Live Studio: Built-in switcher, 4K encoder, recorder, and 8" touchscreen monitor in one device. Go live in minutes — no laptop, capture card, or extra software needed

Experience analog tones with Unison preamps, letting you record in realtime through authentic emulations of Neve, API, Avalon, Manley, Fender, and more

AD/DA conversion for recording up to 192kHz / 24-bit.
Software and DAW Integration
After setting up your monitoring, it’s time to sync everything with your audio software and DAW. First, let’s verify DAW compatibility by installing the latest drivers for your audio interface. Next, we’ll select the correct audio input channel in the DAW and arm the track for live monitoring. It’s essential to set the input gain to prevent clipping, targeting levels around -18 to -12 dBFS. Don’t forget to enable phantom power if you’re using a condenser mic! And remember, software routing can help us direct the microphone input to specific tracks for processing. Additionally, ensure your setup includes low latency performance to maintain a smooth recording experience. With these simple steps, we’ll keep our recordings smooth and professional! 🎤 Let’s rock this setup!
Frequently Asked Questions
Can I Use My Guitar Cable for a Microphone Connection?
We can’t recommend using guitar cables for microphones. The mismatched guitar impedance could cause sound issues, and the longer cable length might introduce noise. For better quality, let’s stick to proper microphone cables.
What if My Microphone Has No XLR Output?
If our microphone doesn’t have an XLR output, we can explore USB microphone options for direct connections or find adapter solutions like 1/4-inch to XLR cables. Together, we’ll achieve seamless sound!
How Do I Prevent Interference in My Recordings?
To prevent interference in our recordings, let’s implement shielding techniques while being mindful of ground loops. Keeping our cables organized and separating power from audio sources will help us achieve cleaner sound and an improved experience together.
Can I Daisy-Chain Multiple Microphones to One Input?
Imagine we’re in a vintage studio, crafting sounds together. While some microphone types can daisy-chain, many can’t without sacrificing signal quality. It’s better to use a mixer for ideal results and clearer recordings.
What Should I Do if I Hear a Buzzing Sound?
If we hear buzzing sounds, we should explore common buzzing causes like faulty cables or grounding issues. Using troubleshooting tips like isolating devices and checking connections can help us eliminate this frustrating noise.